1. Introduzione
Thank you for choosing the Einhell RT-AG 230/180 Angle Grinder. This manual provides important information regarding the safe operation, setup, maintenance, and troubleshooting of your new tool. Please read this manual thoroughly before using the angle grinder and keep it for future reference. Proper use and care will ensure long-lasting performance and safety.
2. Istruzzioni di sicurità
Always observe basic safety precautions when using electric tools to reduce the risk of fire, electric shock, and personal injury. Keep this manual handy for quick reference.
Avvertimenti Generali di Sicurezza di l'Utensili Elettrici:
- Sicurezza di l'area di travagliu: Mantene a zona di travagliu pulita è ben illuminata. Ùn aduprate micca utensili elettrici in atmosfere esplosive, cum'è in presenza di liquidi, gas o polveri inflammabili.
- Sicurezza elettrica: E spine di l'utensili elettrici devenu currisponde à a presa. Ùn mudificate micca a spina in alcun modu. Evitate u cuntattu di u corpu cù superfici messe à terra o à terra.
- Sicurezza persunale: Stay alert, watch what you are doing and use common sense. Use personal protective equipment such as eye protection, hearing protection, dust mask, and heavy-duty gloves.
- Uso è cura di l'arnesi: Ùn furzate micca l'utensile elettricu. Aduprate l'utensile elettricu currettu per a vostra applicazione. Scollegate a spina da a fonte di alimentazione prima di fà qualsiasi aghjustamentu, cambià accessori o almacenà l'utensili elettrichi.
Specific Angle Grinder Safety Warnings:
- Always use the auxiliary handle provided with the tool.
- Ensure the wheel guard is securely attached and correctly positioned for the operation.
- Do not use cutting-off wheels for grinding operations.
- Ùn aduprate micca accessori dannighjati o incorretti.
- Lasciate chì a rota righjunghji a piena velocità prima di cuntattà a pezza di travagliu.
- Fate attenzione à i contraccolpi è pigliate precauzioni per evità li.
3. Cuntenutu di u pacchettu
Upon opening the package, please ensure all items are present and undamaged. If any parts are missing or damaged, contact your retailer immediately.
- Einhell RT-AG 230/180 Angle Grinder Unit
- Maniglia ausiliaria
- Ruota Guardia
- Flange Nut Wrench
- Manuale d'usu
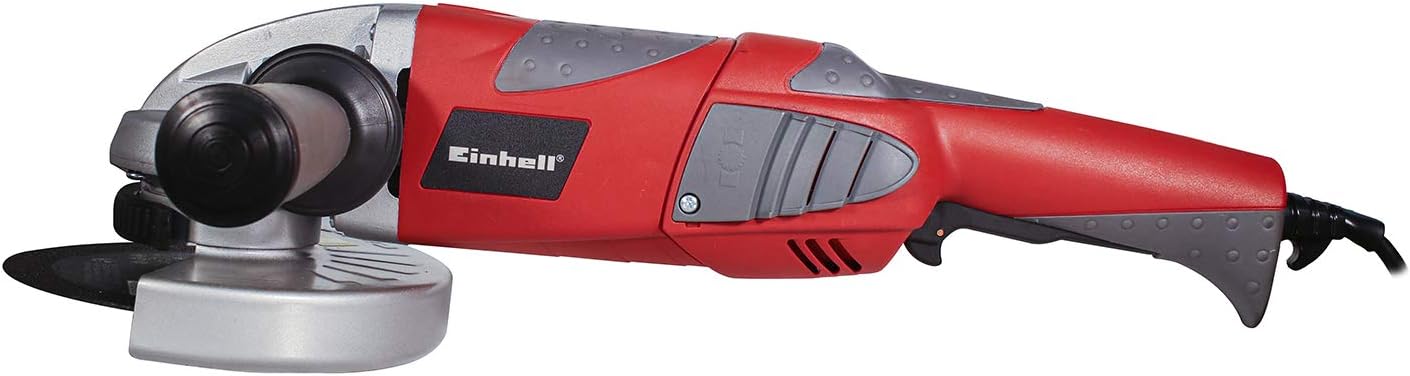
4. Produttu Finituview
Familiarize yourself with the components of your Einhell Angle Grinder before operation.


5. Setup
5.1 Attaccà a maniglia ausiliaria
The auxiliary handle can be screwed into one of the three available positions on the gear head (left, right, or top) to provide optimal grip and control for various applications. Ensure it is tightened securely before use.
5.2 Adjusting the Wheel Guard
The wheel guard is essential for safety. It can be adjusted quickly without tools. Loosen the clamping lever, rotate the guard to the desired position to protect against sparks and debris, and then tighten the clamping lever firmly.
5.3 Mounting/Changing the Grinding Disc
- Assicuratevi chì u strumentu sia scollegatu da a fonte di alimentazione.
- Appughjà è mantene u buttone di serratura di u spindle.
- Use the provided flange nut wrench to loosen the clamping nut counter-clockwise.
- Eliminate u vechju discu (s'ellu hè applicabile) è pulite e flange.
- Place the new grinding or cutting disc onto the lower flange, ensuring it sits flush.
- Vite nantu à u clamping nut and tighten it firmly with the wrench while holding the spindle lock button. Do not overtighten.
- Rilascia u buttone di serratura di u spindle.
6. Uperativu
6.1 Accensione / spegnimentu
- Per accende: Push the ON/OFF switch forward. For continuous operation, press the front part of the switch down until it locks.
- Per spegne: For continuous operation, press the rear part of the switch. For momentary operation, simply release the switch.
6.2 Holding the Tool
Always hold the angle grinder firmly with both hands, one on the main handle and one on the auxiliary handle. Maintain a stable stance and good balance.
6.3 Basic Grinding and Cutting Techniques
- Lasciate chì u discu righjunghji a piena velocità di funziunamentu prima di cuntattà a pezza di travagliu.
- Apply light, even pressure. Do not force the tool, as this can lead to overheating and damage.
- Per a macinazione, tene u discu à un ligeru angulu (tipicamente 15-30 gradi) rispettu à a pezza di travagliu.
- For cutting, hold the disc perpendicular to the workpiece and make straight, steady cuts. Avoid twisting or bending the disc.
- Always work away from your body and ensure sparks are directed away from flammable materials.
7. Mantenimentu
Una manutenzione regulare assicura a longevità è u funziunamentu sicuru di a vostra smerigliatrice angulare.
7.1 Pulizia
- Scollegate sempre l'utillita prima di pulisce.
- Keep the ventilation slots clean to prevent motor overheating. Use a soft brush or compressed air.
- Pulite l'alloghju di l'utensili cù publicitàamp tela. Ùn aduprate micca agenti di pulizia duri o solventi.
7.2 Sustituzione di e spazzole di carbone
This tool uses carbon brushes. If the motor sparks excessively or the tool stops working, the carbon brushes may need replacement. This should be performed by a qualified technician or an authorized service center.
7.3 Storage
Store the angle grinder in a dry, secure place, out of reach of children. Protect it from dust and moisture.
8. Risoluzione di prublemi
Below are common issues and their potential solutions. If the problem persists, contact customer support.
| Prublemu | Causa Possibile | Soluzione |
|---|---|---|
| U strumentu ùn principia micca | Nisuna alimentazione elettrica; Interruttore difettuosu; Spazzole di carbone usurate | Check power outlet/cord; Check switch operation; Have carbon brushes inspected/replaced |
| Scintille eccessive à u mutore | Spazzole di carbone usurate; Commutatore sporcu | Have carbon brushes inspected/replaced; Have commutator cleaned by technician |
| U strumentu surriscalda | Fessure di ventilazione bluccate; Sopraccaricà l'utensile | Clean ventilation slots; Reduce pressure/load during operation |
| Vibrazione eccessiva | Damaged or unbalanced disc; Loose auxiliary handle | Replace disc; Tighten auxiliary handle |
9. Specificazioni
Technical data for the Einhell RT-AG 230/180 Angle Grinder:
| Specificazione | Valore |
|---|---|
| U fabricatore | Einhell |
| Part Number | RT-AG 230/180, 127V, 7'' |
| Culore | Rossu |
| Stile | Angulu |
| Fonte d'energia | Corded Electric |
| Voltage | 127 Volts |
| Wattage | 2000 W |
| Quantità di Pacchettu Articulu | 1 |
| Batterie necessarie? | Innò |
| Pesu di l'articulu | 6.2 chilògrammi |
| Dimensioni di u produttu | 54 x 14.5 x 16.5 cm |
| Numero di mudellu | RT-AG 230/180, 127V, 7'' |
| ASIN | B076XCCRR2 |
10. Garanzia è Support
Einhell products are manufactured to high-quality standards and undergo strict quality controls. For information regarding warranty terms and conditions, please refer to the warranty card included with your product or visit the official Einhell website. For technical support, spare parts, or service inquiries, please contact Einhell customer service or an authorized service center in your region. Keep your purchase receipt as proof of purchase for any warranty claims.