1. Introduzione
The Ameta Morpho Drone (Model DR-ATM10B) is a compact and user-friendly quadcopter designed for beginners and young pilots. It features a 1080P HD camera for capturing aerial photos and videos, real-time First Person View (FPV) transmission, and 32 vibrant RGB lights with multiple effects. Built with durability in mind, it includes propeller guards and a loss prevention buzzer for enhanced safety and ease of use. This manual provides comprehensive instructions for safe operation, setup, and maintenance of your Ameta Morpho Drone.

Image 1.1: Ameta Morpho Drone with its main accessories.
2. Guidelines di sicurezza
- Aduprate sempre u drone in zone aperte è sgombre, luntanu da persone, animali è ostaculi.
- Ensure the drone is fully charged before each flight.
- Ùn fate micca vulà u drone in venti forti o in cundizioni climatiche avverse.
- Tenite e dite è i capelli luntanu da l'eliche in rotazione.
- A supervisione di un adultu hè cunsigliata per l'utilizatori di menu di 14 anni.
- Avoid flying near airports, restricted airspace, or private property.
- If the drone flies out of range, use the built-in buzzer to locate it.
3. Cuntenutu di u pacchettu
Verificate chì tutti i cumpunenti sò presenti in u vostru pacchettu:
- Ameta Morpho Drone
- Controller Remote
- Batterie Modulari (x2)
- Eliche di riserva
- Cavu di carica USB
- Strumentu di rimozione di l'hélice
- Manuale d'usu

Image 3.1: Complete package contents of the Ameta Morpho Drone.
4. Setup
4.1. Installazione è carica di a batteria
- Insert the modular batteries into the drone's battery compartment until they click securely into place.
- Use the provided USB charging cable to charge the batteries. The indicator light on the cable will show charging status (e.g., red for charging, green for fully charged).
- For the remote controller, install 3 AAA batteries (not included) into its battery compartment.
4.2. Drone and Controller Pairing
- Pone u drone nantu à una superficia piana è orizzontale.
- Press and hold the power button on the drone until its indicator lights begin to flash.
- Turn on the remote controller. The controller will automatically pair with the drone. A solid light on both the drone and controller indicates successful pairing.
5. Operating Instructions
5.1. Cumandamenti di volu basi
- Decollo/Atterraggio in un clic: Press the dedicated button on the controller for automatic takeoff or landing.
- Mantenimentu di l'altitudine: The drone maintains a stable altitude, allowing for easier control and smoother footage.
- Modu senza testa: In this mode, the drone's orientation is relative to the pilot, simplifying flight control regardless of the drone's front direction.
- Ajustimentu di Velocità: The drone offers multiple speed settings (e.g., low, medium, high) to suit different skill levels and environments.

Image 5.1: Beginner-friendly features like one-key takeoff, altitude hold, and headless mode.
5.2. Funzioni di volu avanzate
- Capovolgimenti 3D: Execute impressive 360-degree flips with a press of a button and a joystick movement.
- Circle Fly: The drone can perform circular flight patterns, adding dynamic movement to your aerial displays.

Image 5.2: The drone executing 3D flips and circular flight patterns.
5.3. Optical Flow Positioning
The drone utilizes optical flow positioning for enhanced stability, especially during indoor flights. This technology helps the drone maintain its position accurately, contributing to smoother control and clearer video capture.

Image 5.3: Optical flow positioning ensures stable hovering.
5.4. Loss Prevention Buzzer
Should the drone fly out of sight or range, a built-in buzzer can be activated via the controller to help locate it, minimizing the risk of loss.

Image 5.4: The remote controller features a button to activate the drone's loss prevention buzzer.
6. Operazione Camera
The Ameta Morpho Drone is equipped with an 80° 1080P HD camera, allowing you to capture clear photos and videos from an aerial perspective. Utilize the companion app for real-time FPV (First Person View) transmission directly to your smartphone, enabling you to see what the drone sees as it flies.
- Cattura di foto: Use the app or a designated button on the controller to take still images.
- Registrazione Video: Start and stop video recording via the app or controller.
- Trasmissione FPV: Cunnette u vostru smartphone à a rete Wi-Fi di u drone per view campà footage.
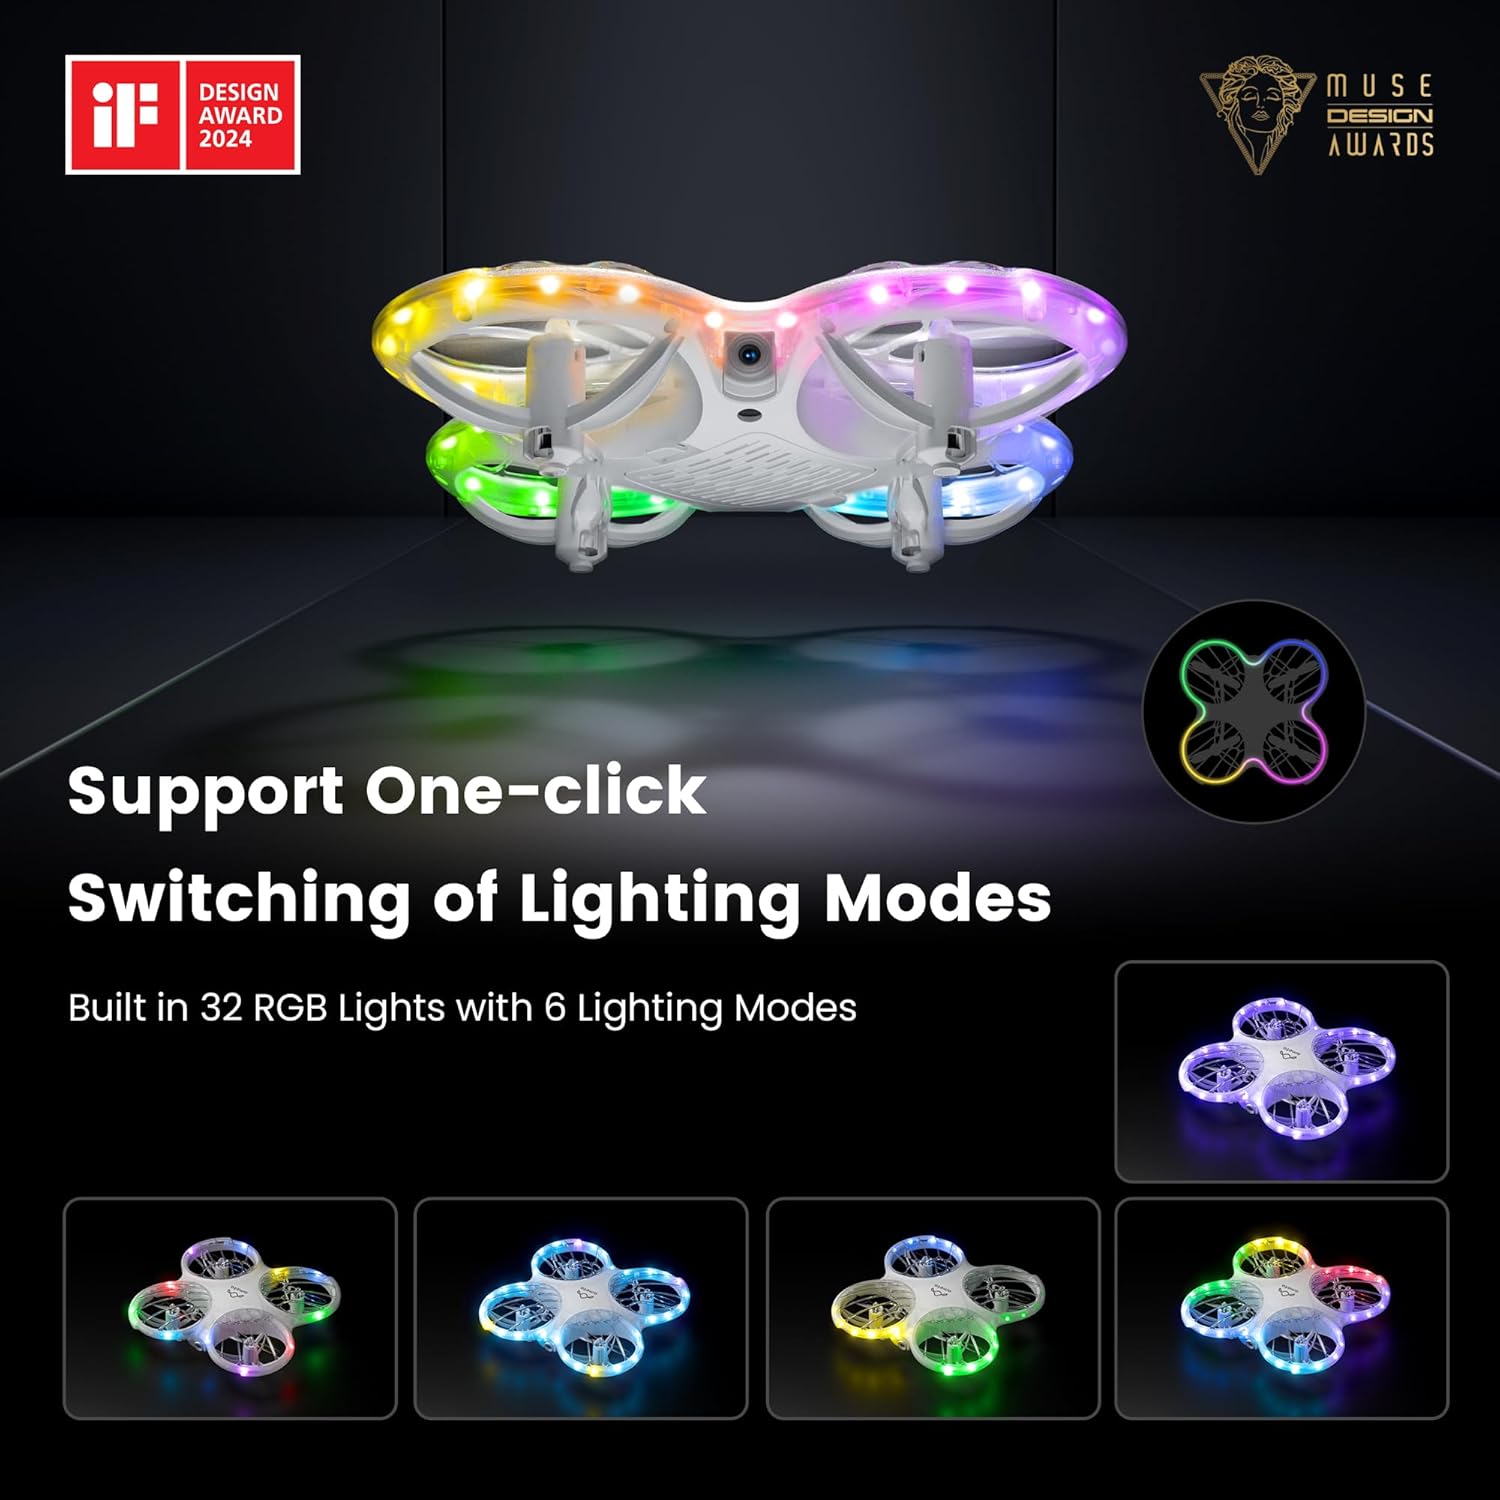
Image 6.1: The drone's 1080P HD camera for capturing high-definition media.
7. STEM Learning Module
The Ameta companion app integrates a simple STEM (Science, Technology, Engineering, and Mathematics) module. This feature allows users, particularly children, to engage in basic coding by combining flying modules, offering an educational approach to understanding drone technology and programming principles.

Image 7.1: The Ameta app's STEM module for programming flight paths.
8. Luci RGB
The drone features 32 RGB lights with 6 dazzling effects, creating a visually engaging experience during flight. These lights enhance visibility and add an element of fun, especially when flying in low-light conditions.

Image 8.1: The drone showcasing its multiple RGB lighting modes.
9. Mantenimentu
9.1. Sustituzione di l'elica
In case of damage, replace propellers using the provided tool and spare parts. Ensure correct orientation (A and B markings) for optimal flight performance.
9.2. Cura di batterie
To prolong battery life, avoid overcharging or fully discharging the batteries. Store them in a cool, dry place when not in use.
9.3. Pulizia
Gently wipe the drone with a soft, dry cloth to remove dust and debris. Avoid using liquids or harsh chemicals.
10. Risoluzione di prublemi
- Drone Drifts: Calibrate the gyroscope as per the instructions in the app or manual. Check for damaged propellers.
- Nisun putere: Ensure batteries are fully charged and correctly installed in both the drone and controller.
- Perdita di cunnessione: Re-pair the drone and controller. Ensure no strong interference sources are nearby.
- U cicalino ùn funziona micca: Check battery levels. Ensure the drone is within operational range for the buzzer to function effectively.
11. Specificazioni
| Feature | Detail |
|---|---|
| Marca | Ameta |
| Nome di mudellu | Morpho |
| Numeru di mudellu di l'articulu | DR-ATM10B |
| Dimensioni di u produttu | 13.8 x 13.4 x 3.4 cm |
| Pesu di l'articulu | 72 g |
| Batterie | 2 batterie Lithium Ion (incluse) |
| Camera | 1080P HD, 80° FOV |
| Funzioni spiciali | Speed Adjustment, FPV, 32 RGB Lights, Optical Flow Positioning, Loss Buzzer, STEM Learning Module |
| Tempu di volu | Finu à 18 minuti (cù 2 batterie) |
| Fascia d'età (descrizzione) | 14 years and above (with parental supervision for younger users) |
| Paese d'origine | Cina |
12. Garanzia è Support
For warranty information or technical support, please refer to the contact details provided on the product packaging or visit the official Ameta websitu. Conservate a vostra ricevuta di compra cum'è prova di compra.