Importante infurmazione di sicurezza
Please read and understand all instructions before using the laminator. Keep this manual for future reference.
- Ùn aduprate micca a plastificatrice se u cavu di alimentazione o a spina sò dannighjati.
- Keep the laminator away from water or other liquids.
- Do not insert metal objects into the laminator.
- Assicurà una ventilazione adatta intornu à a macchina durante u funziunamentu.
- Scollegate u laminatore quandu ùn hè micca in usu o prima di pulisce.
- Stu apparecchiu ùn hè micca destinatu à l'usu di e persone (cumpresi i zitelli) cù capacità fisiche, sensoriali o mentali ridotte, o mancanza di sperienza è cunniscenze, salvu ch'elli sò stati dati supervisione o struzzioni riguardanti l'usu di l'apparechju da una persona rispunsevuli di a so sicurità.
Product Overview
The Amazon Basics 9-Inch Thermal Laminator is designed for home, office, or classroom use, providing high-quality lamination for various document sizes.
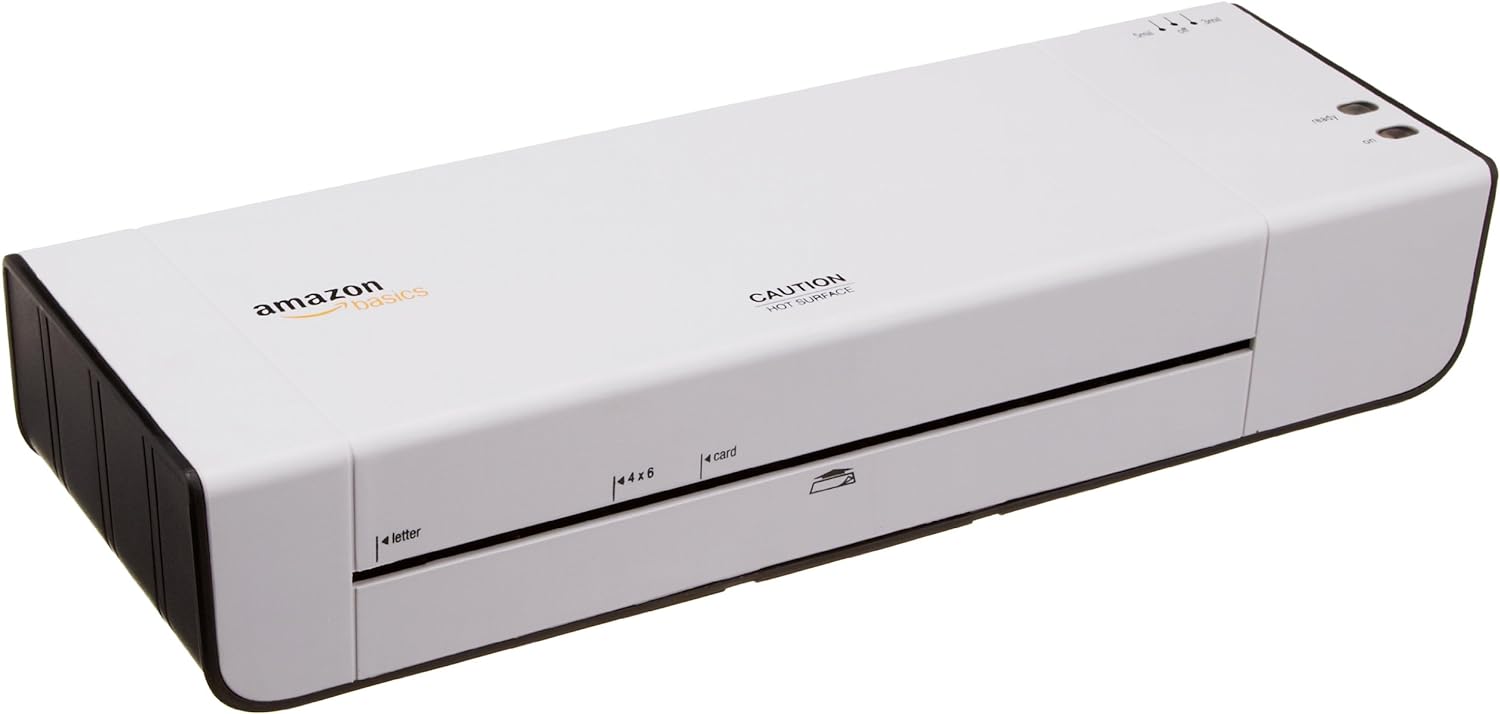
Figura 1: Fronte view of the Amazon Basics 9-Inch Thermal Laminator Machine, showing the feed slot and branding.
Funzioni chjave:
- Laminates documents up to 9 inches wide.
- Two heat settings: 3 mil and 5 mil.
- Quick 4-minute warm-up time.
- Jam release lever for easy clearing.
- Disegnu compactu.
Istituisci
Unpacking:
Carefully remove the laminator from its packaging. Retain the packaging for future storage or transport.

Figure 2: The laminator machine as it appears inside its frustration-free packaging.
Placement:
Place the laminator on a flat, stable, and heat-resistant surface. Ensure there is adequate space around the machine for proper ventilation and for documents to exit the rear.
Cunnessione di putenza:
Plug the power cord into a standard electrical outlet. The power switch is located on the side of the unit.

Figura 3: Primu pianu view of the power switch, 3mil/5mil heat settings, and release lever on the side of the laminator.
Istruzzioni di funziunamentu
Laminating a Document:
Accensione è Riscaldamentu:
Turn the power switch to the "On" position. The "Ready" indicator light will illuminate once the machine has warmed up (approximately 4 minutes).
Selezziunà u paràmetru di u calore:
Choose the appropriate heat setting based on the laminating pouch thickness:
- 3 mil: For normal documents, photos, and card stock.
- 5 mil: For thinner papers.
Preparà u documentu:
Place the document inside a laminating pouch, ensuring it is centered and there is an even border around the edges. Use the included 3 mil thick, 8.9 by 11.4 inch laminating pouches or any compatible 3 mil or 5 mil pouch.

Figura 4: Esample of laminating recipe cards, showing the document being fed into the laminator.
Inserisce a bustina:
Carefully insert the sealed edge of the laminating pouch into the laminator's feed slot. The machine will automatically pull the pouch through.

Figure 5: A calendar page being laminated, demonstrating the machine's ability to handle various document types.
Recuperà u documentu laminatu:
Once the pouch exits the rear of the machine, allow it to cool on a flat surface before handling to ensure proper sealing.

Figure 6: A collection of laminated items, including recipe cards, ID badges, and a calendar, showcasing the versatility of the laminator.
Mantenimentu
Pulizia:
Ensure the laminator is unplugged and completely cool before cleaning. Wipe the exterior with a soft, damp tela. Ùn aduprate micca detergenti abrasivi o solventi.
Roller Cleaning (Optional):
Periodically, you may run a cleaning sheet (available separately) through the laminator to remove any adhesive residue from the rollers.
Conservazione:
Store the laminator in a cool, dry place when not in use. Ensure the power cord is neatly wrapped and not kinked.
Risoluzione di prublemi
| Prublemu | Causa Possibile | Soluzione |
|---|---|---|
| A plastificatrice ùn s'accende micca. | Not plugged in; power switch off; no power at outlet. | Check power cord connection; ensure power switch is "On"; test outlet with another device. |
| Pouch jams in the machine. | Pouch inserted incorrectly; pouch too thick; foreign object. | Press u leva di liberazione to clear the jam. Ensure pouch is inserted sealed edge first and is within specified thickness (3 or 5 mil). |
| Lamination is cloudy or bubbly. | Incorrect heat setting; machine not fully warmed up; low-quality pouch. | Ensure correct heat setting (3 mil for normal, 5 mil for thinner); wait for "Ready" light; use high-quality laminating pouches. |
| Lamination is not sealed properly. | Incorrect heat setting; machine not fully warmed up; document too thick for pouch. | Verify heat setting; wait for "Ready" light; ensure document fits pouch with adequate border. |
Specificazioni
| Feature | Detail |
|---|---|
| Numero di mudellu | PL9-US |
| Larghezza di laminatura | Finu à 9 inch |
| Impostazioni di calore | 3 mil, 5 mil |
| Tempu di riscaldamentu | Circa 4 minuti |
| Numeru di rulli | 2 |
| Pesu | 1.2 kg |
| Alimentazione elettrica | AC standard |
Garanzia è Supportu
For warranty information and customer support, please visit the official Amazon Basics website or contact Amazon customer service directly.
Supportu in ligna: Amazon Basics Store
Note: Reading the full user manual is recommended prior to the first use of this product.


