1. Introduzione
This manual provides essential information for the safe installation, operation, and maintenance of your Ducasa Ducaverre White 1200W Glass Radiant Panel Heater. Please read these instructions carefully before use and retain them for future reference.
1.1 Informazioni di sicurezza
- Sicurezza elettrica: Always ensure the heater is connected to a properly grounded electrical outlet. Do not operate with a damaged cord or plug.
- Placement: Maintain a safe distance from flammable materials (curtains, furniture) as indicated in the installation section. Do not cover the heater.
- Esposizione à l'acqua: Do not install the heater near water sources (bathrooms, laundry rooms) unless specifically rated for such environments. Avoid direct water spray.
- Zitelli è persone vulnerabili: Stu apparecchiu pò esse usatu da i zitelli di 8 anni è sopra è da persone cù capacità fisiche, sensoriali o mentali ridotte o mancanza di sperienza è cunniscenze s'ellu sò stati dati a supervisione o struzzioni riguardanti l'usu di l'apparechju in modu sicuru è capiscenu i periculi implicati. . I zitelli ùn deve micca ghjucà cù l'apparechju. A pulizia è u mantenimentu di l'utilizatori ùn deve esse fatta da i zitelli senza surviglianza.
- Mantenimentu: Scollegate l'alimentazione da a rete prima di pulisce o di fà qualsiasi manutenzione.
1.2 Cuntenuti di u pacchettu
Verificate chì tutti i cumpunenti sò presenti in l'imballu:
- Ducasa Ducaverre 1200W Glass Radiant Panel Heater
- Wall Mounting Bracket(s)
- Viti di muntatura è tasselli murali
- Manuale d'uso (stu documentu)
2. Setup è Installazione
Proper installation is crucial for the safe and efficient operation of your heater. If you are unsure about any step, consult a qualified electrician.
2.1 Muntamentu murale
The Ducasa Ducaverre heater is designed for wall mounting. Choose a suitable location away from direct drafts, windows, and areas where it might be accidentally covered. Ensure there is sufficient clearance around the heater as specified in the diagram below.
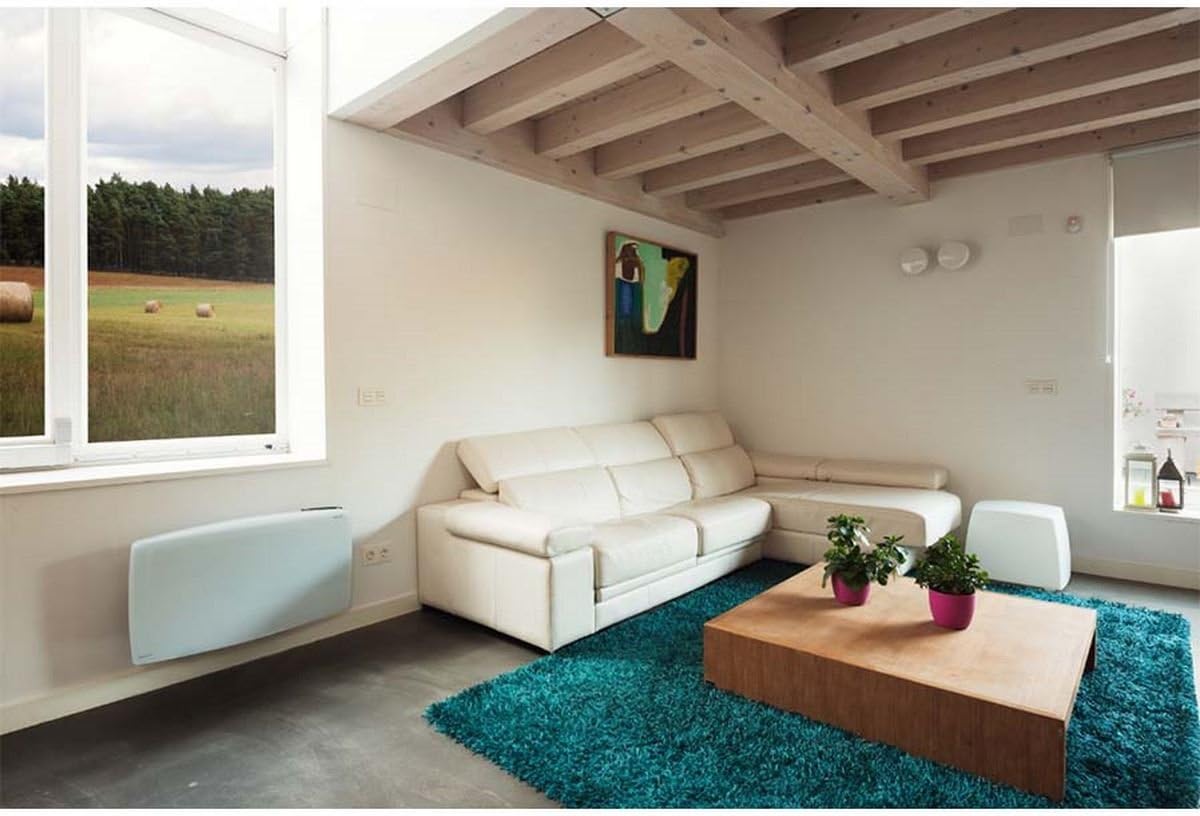
Image 1: Ducasa Ducaverre 1200W Glass Radiant Panel Heater mounted on a wall in a modern living room setting. The heater is white and rectangular, positioned low on the wall, illustrating a typical installation scenario.
- Marcatura: Hold the mounting bracket against the wall at the desired height. Use a pencil to mark the drilling points.
- Perforazione: Fate i fori in i punti marcati cù una punta adatta per u vostru tipu di muru. Inserite i tasselli.
- Attaccà a staffa: Secure the mounting bracket to the wall using the provided screws. Ensure it is level and firmly attached.
- Riscaldatore di montaggio: Carefully lift the heater and hook it onto the mounting bracket. Ensure it clicks securely into place. Some models may require additional screws to fix the heater to the bracket from below.
2.2 Cunnessione elettrica
Once mounted, connect the heater to a standard electrical outlet. Ensure the outlet is easily accessible and rated for the heater's power consumption (1200W). Do not use extension cords or multi-plugs unless absolutely necessary and only if they are rated for the heater's power.
3. Operating Instructions
Your Ducasa Ducaverre heater features an intuitive control panel for setting temperature and operating modes.

Image 2: Un primu pianu view of the black control panel located on the top right side of the white Ducasa Ducaverre heater. The panel features a digital display and several buttons labeled 'OK', '+', '-', 'MODE', and 'PROG', indicating user interface for settings and programming.
3.1 Panel Control Overview
- Display Digitale: Mostra a temperatura attuale, a temperatura impostata è u modu di funziunamentu.
- Pulsante MODE: Cycles through operating modes (Comfort, Eco, Frost Protection, Program).
- Buttoni '+' / '-': Ajustate i paràmetri di temperatura o navigate in l'opzioni di u menù.
- Pulsante OK: Cunfirma a selezzione.
- Pulsante PROG: Accesses programming functions.
3.2 Stabbilimentu di l'ora è u ghjornu
Before using programmed modes, set the current time and day:
- Appughjà è tene premutu MODE button until the time setting appears.
- Aduprà '+' or '-' per aghjustà l'ora, dopu appughjà OK.
- Repeat for minutes and day of the week.
3.3 Modi di funziunamentu
- Modu cunfortu (C): Maintains your desired set temperature. Use '+' or '-' per aghjustà a temperatura.
- Eco Mode (E): Maintains a temperature typically 3-4°C lower than the Comfort setting, saving energy.
- Frost Protection Mode (F): Mantene una temperatura minima (per esempiu, 7 ° C) per impedisce u congelamentu.
- Program Mode (P): Follows a pre-set weekly heating schedule.
3.4 Programming a Weekly Schedule
To set a custom heating schedule:
- Press u PROG button. The display will show the current day and a time segment.
- Aduprà MODE to select the desired operating mode (Comfort, Eco, Frost Protection) for that specific hour.
- Aduprà '+' to advance to the next hour or '-' per vultà.
- Repeat for all 24 hours of the day.
- Press PROG again to move to the next day.
- Once all days are programmed, press OK per salvà è esce.
4. Mantenimentu
Una pulizia regulare assicura prestazioni ottimali è allunga a durata di vita di u vostru riscaldatore.
4.1 Pulizia
- Disconnect Power: Always unplug the heater from the electrical outlet before cleaning.
- Esternu: Wipe the glass panel and exterior surfaces with a soft, damp pannu. Ùn aduprate micca detergenti abrasivi, solventi o prudutti chimichi aggressivi, postu chì questi ponu dannà a finitura.
- Polvere: Use a soft brush or vacuum cleaner with a brush attachment to remove dust from air inlets and outlets.
- Asciugatura: Assicuratevi chì u riscaldatore sia cumpletamente asciuttu prima di ricollegallu.
4.2 Storage
If storing the heater for an extended period, ensure it is clean and dry. Store it in its original packaging or a protective cover in a cool, dry place, away from direct sunlight and extreme temperatures.
5. Risoluzione di prublemi
Sè avete prublemi cù u vostru riscaldatore, riferitevi à i seguenti prublemi cumuni è suluzioni:
- U riscaldatore ùn si accende micca:
- Verificate s'ellu u cavu di alimentazione hè bè inseritu in una presa di corrente funzionale.
- Verificate chì l'interruttore di circuitu ùn sia micca scattatu.
- Ensure the heater is not in standby mode.
- Heater is on but not heating:
- Check the set temperature; it might be lower than the ambient room temperature.
- Ensure the heater is not in Frost Protection mode if you expect higher heat output.
- Verify that no objects are obstructing the air vents.
- rumori inusuali:
- Minor expansion/contraction noises are normal during heating and cooling cycles.
- If noises are loud or persistent, disconnect power and contact support.
- Codici d'errore: If an error code appears on the display, note the code and consult the manufacturer's support or a qualified technician.
If the problem persists after attempting these solutions, disconnect the heater from the power supply and contact customer support.
6. Specificazioni
- Mudellu: Ducasa Ducaverre 1200W
- Tipu: Glass Radiant Panel Heater
- Potenza di uscita: 1200 W
- Voltage: 230V ~ 50Hz (Standard European)
- Materiale: Pannellu frontale di vetru
- Installazione: Muntatu à u muru
- Dimensioni: Cunsultate l'imballu di u pruduttu o u fabricatore website for exact measurements.
- ASIN: B01HZMXDAY

Image 3: A full, slightly angled view of the Ducasa Ducaverre 1200W Glass Radiant Panel Heater. The heater is white with a sleek glass surface, and the 'ducasa' brand name is visible on the top right, along with the small digital control panel.
7. Garanzia è Support
Your Ducasa Ducaverre heater is covered by a manufacturer's warranty. Please refer to the warranty card included with your purchase or visit the official Ducasa websitu per i termini è e cundizioni detallati.
For technical assistance, spare parts, or warranty claims, please contact Ducasa customer support through their official channels. Have your product model and ASIN (B01HZMXDAY) ready when contacting support.


