1. Introduzione
The RØDELink TX-XLR is a versatile wireless plug-on XLR transmitter designed for professional audio applications. It seamlessly integrates with your RØDELink digital wireless system, offering reliable audio transmission and the convenience of one-touch synchronization. This unit is capable of supplying P48 phantom power, making it compatible with a wide range of condenser microphones. Its flexible power options include 2 x AA batteries, Sony NP-F series batteries, or continuous power via micro USB.

Figura 1.1: Fronte view of the Rode RodeLink TX-XLR Wireless Plug-On XLR Transmitter, showcasing its compact design and XLR connector.
2. Features
- Flessibilità di fonte di energia: Operates on 2 x AA batteries, Sony NP-F series batteries, or continuous power via micro USB.
- Antenna interna: Features an integrated antenna for a streamlined design and robust wireless performance.
- Dual Input Connections: Equipped with an XLR input with a locking collar and a 3.5mm TRS locking jack socket for versatile microphone connectivity.
- Phantom Power (P48): Provides 48V phantom power for condenser microphones.
- Dimensioni compatte: Measures 120mm x 45mm x 45mm, making it highly portable.
- Custruzione robusta: Built with durable metal material for reliability in various environments.
- Digital Wireless System: Part of the RØDELink digital wireless system for secure and clear audio transmission.
3. Informazioni di sicurezza
Please read and understand all safety instructions before using the TX-XLR transmitter. Failure to follow these guidelines may result in injury, damage to the device, or voiding of the warranty.
- Ùn espone micca l'unità à l'acqua o à l'umidità eccessiva.
- Avoid extreme temperatures. Operate and store the device within recommended environmental conditions.
- Use only specified power sources (AA batteries, NP-F batteries, or micro USB power).
- Do not attempt to disassemble or modify the unit. Refer all servicing to qualified RØDE personnel.
- Mantene fora di a portata di i zitelli.
- Smaltite e batterie in modu responsabile secondu e normative lucali.
4. Setup
4.1 Powering the TX-XLR
The TX-XLR offers multiple power options:
- Batterie AA: Open the battery compartment and insert two (2) AA batteries, ensuring correct polarity.
- Sony NP-F Battery: The unit is designed to accept a Sony NP-F series battery. Align the battery with the compartment and slide it into place until it clicks.
- Micro USB: Connect a micro USB cable to the micro USB port on the side of the unit and to a suitable USB power source (e.g., computer, USB wall adapter). This provides continuous power and can also charge rechargeable NP-F batteries if inserted.
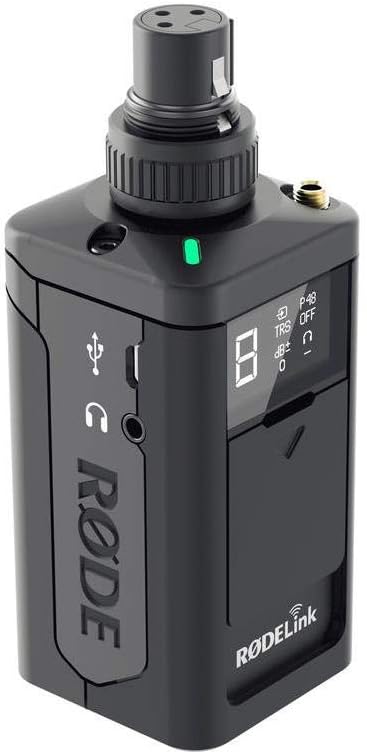
Figura 4.1: Side view of the TX-XLR, highlighting the micro USB port for power and the 3.5mm headphone monitoring jack.
4.2 Cunnessione di un Microfonu
The TX-XLR features an XLR input with a locking collar. Simply plug your XLR microphone into the top of the unit. For microphones requiring phantom power, ensure the P48 phantom power setting is enabled on the TX-XLR (refer to Section 5.1 for controls).
Additionally, a 3.5mm TRS locking jack socket is available for connecting lavalier microphones or other devices with a 3.5mm output.

Figure 4.2: Front panel of the TX-XLR, showing the OLED display and control buttons for easy access to settings.
4.3 Pairing with a RØDELink Receiver
The TX-XLR utilizes one-touch sync for quick and easy pairing with a compatible RØDELink receiver (e.g., RX-CAM). Follow these steps:
- Ensure both the TX-XLR and the RØDELink receiver are powered on.
- On the TX-XLR, navigate to the pairing menu using the control buttons.
- On the receiver, activate its pairing mode.
- The units should automatically detect and pair with each other. The display on both units will confirm a successful connection.
5. Uperativu
5.1 Cuntrolli è Display
The TX-XLR features an intuitive OLED display and control buttons for managing settings:
- Pulsante di putenza: Press and hold to turn the unit on/off. A short press may activate/deactivate mute.
- Navigation Buttons (Left/Right): Adupratu per navigà trà l'opzioni di u menù è aghjustà i valori.
- Selezziunà u buttone: Cunfirma e selezioni o accede à i sottumenù.
- Mustrà OLED: Shows current channel, battery status, audio levels, phantom power status (P48), and other settings.
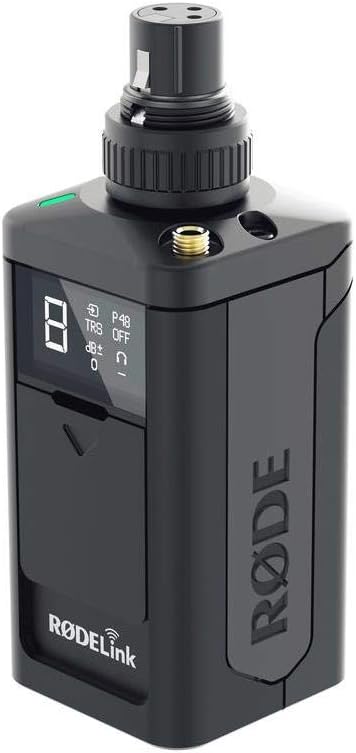
Figura 5.1: Angulata view of the TX-XLR, providing a clear look at the display and the tactile control buttons.
5.2 Adjusting Audio Gain
To optimize your audio levels, you can adjust the gain on the TX-XLR. Use the navigation buttons to access the gain setting on the display and increase or decrease the input sensitivity as needed. Monitor your audio levels on the receiver or a connected monitoring device to prevent clipping.
5.3 Phantom Power Activation
If using a condenser microphone that requires 48V phantom power, navigate to the P48 setting on the TX-XLR's display and activate it. Ensure your microphone is connected before enabling phantom power.
6. Mantenimentu
6.1 Pulizia
To clean the TX-XLR, use a soft, dry cloth. Do not use abrasive cleaners, solvents, or harsh chemicals. Avoid getting moisture into any openings.
6.2 Storage
When not in use for extended periods, remove batteries from the unit to prevent leakage. Store the TX-XLR in a cool, dry place, away from direct sunlight and extreme temperatures.
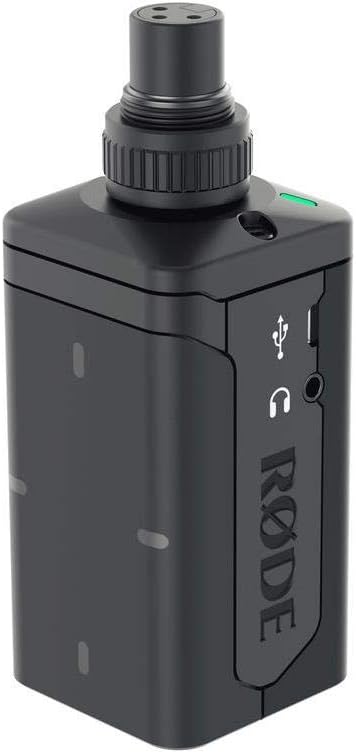
Figura 6.1: Posteriore view of the TX-XLR, illustrating the battery compartment for AA or NP-F series batteries.
7. Risoluzione di prublemi
| Prublemu | Causa Possibile | Soluzione |
|---|---|---|
| Nisun putere | Dead batteries; Incorrect battery insertion; USB cable not connected or faulty. | Replace batteries; Check battery polarity; Ensure USB cable is securely connected to a working power source. |
| Nisuna output audio | Transmitter not paired; Microphone not connected; Phantom power off (for condenser mics); Gain too low; Muted. | Re-pair transmitter and receiver; Check microphone connection; Enable P48 phantom power; Increase gain; Check mute status. |
| Poor audio quality / Dropouts | Interferenza; Fora di portata; Batteria bassa. | Move away from other wireless devices; Reduce distance between transmitter and receiver; Replace or charge batteries. |
| Phantom power not working | P48 setting disabled; Faulty microphone or cable. | Enable P48 in settings; Test with a different microphone or XLR cable. |
8. Specificazioni
| Feature | Detail |
|---|---|
| Nome di mudellu | TX-XLR |
| Fonte d'energia | 2 x AA battery, NP-F series battery, or micro USB |
| Antenna | Internu |
| Cunnessione di input | XLR with locking collar, 3.5mm TRS locking jack socket |
| Impedenza di input | 1kΩ (XLR), 10kΩ (3.5mm) |
| Dimensioni (L x W x H) | 120mm x 45mm x 45mm (Product Dimensions: 17.78 x 7.62 x 12.7 cm) |
| Pesu di l'articulu | 222 g |
| Materiale | Metallu |
| Gamma di Frequency | 20Hz - 20kHz |
| Tecnulugia di cunnessione | Wireless, USB |
| Funzione speciale | Runs on Plug-In Power, Wireless Connectivity |
9. Garanzia è Support
RØDE products are designed and manufactured to the highest quality standards. For information regarding warranty coverage, product registration, and technical support, please visit the official RØDE websitu o cuntattate u so dipartimentu di serviziu di u cliente.
Always refer to the official RØDE websitu per l'infurmazioni è e risorse di supportu più aggiornate.


