1. Introduzione
Grazie per l'acquistuasing the Technics SL-1200MK7 Direct Drive Turntable. This manual provides essential information for the proper setup, operation, and maintenance of your new turntable. Please read this manual thoroughly before using the product to ensure optimal performance and longevity.
The Technics SL-1200MK7 is engineered for precision and durability, offering a high-quality audio experience for both professional DJs and audiophiles. Its robust construction and advanced features make it a reliable choice for vinyl playback.
2. Informazioni di sicurezza
Per impedisce scosse elettriche, incendi o danni à l'unità, osservate e seguenti precauzioni di sicurezza:
- Ùn espone micca sta unità à a pioggia o l'umidità.
- Ùn cacciate micca u coperchiu. Cuntattate solu u persunale qualificatu per a riparazione.
- Ùn ponite micca oggetti pieni di liquidi, cum'è vasi, nantu à l'unità.
- Assicurà una ventilazione adatta. Ùn bluccà micca l'aperture di ventilazione.
- Aduprate solu l'alimentatore specificatu per questu apparechju.
- Disconnect the power plug from the wall outlet if the unit will not be used for a long period.
- Evitate di mette l'unità in luce diretta di u sole o vicinu à fonti di calore.
3. Setup Guide
3.1 Disimballaggio è cumpunenti inclusi
Eliminate cù cura tutti i cumpunenti da l'imballu. Assicuratevi chì i seguenti elementi sianu presenti:
- Technics SL-1200MK7 Turntable Unit
- Lid (Dust Cover)
- Cavu di putenza
- RCA Signal Cable
- Piattu
- Slipmat
- Contrappesu
- Headshell with Cartridge (may be sold separately)
- Adattatore 45 RPM
3.2 Placement
Place the turntable on a stable, level surface, away from direct sunlight, heat sources, and strong magnetic fields. Ensure there is adequate space around the unit for ventilation and cable connections. Avoid placing it near speakers to minimize vibrations that could affect playback quality.

Figura 3.2.1: Main view of the Technics SL-1200MK7 Turntable, showcasing its sleek grey finish and classic design. This image provides an overview of the unit's primary components.
3.3 Assemblea
- Installazione di u piattu: Carefully place the platter onto the spindle. Ensure it sits flush and rotates freely.
- Slipmat Placement: Lay the included slipmat on top of the platter.
- Copertura di polvere: Attach the dust cover to the hinges at the rear of the unit.
- Cartridge and Headshell: If not pre-installed, attach your preferred cartridge to the headshell. Ensure the stylus is protected during installation.
- Equilibriu di u bracciu: Mount the headshell onto the tonearm. Adjust the counterweight until the tonearm is balanced and floats horizontally.
- Forza di seguimentu: Set the tracking force according to your cartridge manufacturer's specifications using the tonearm's tracking force dial.
- Anti-Skate: Ajustate a manopola anti-skate per currispundere à l'impostazione di forza di tracciamentu.
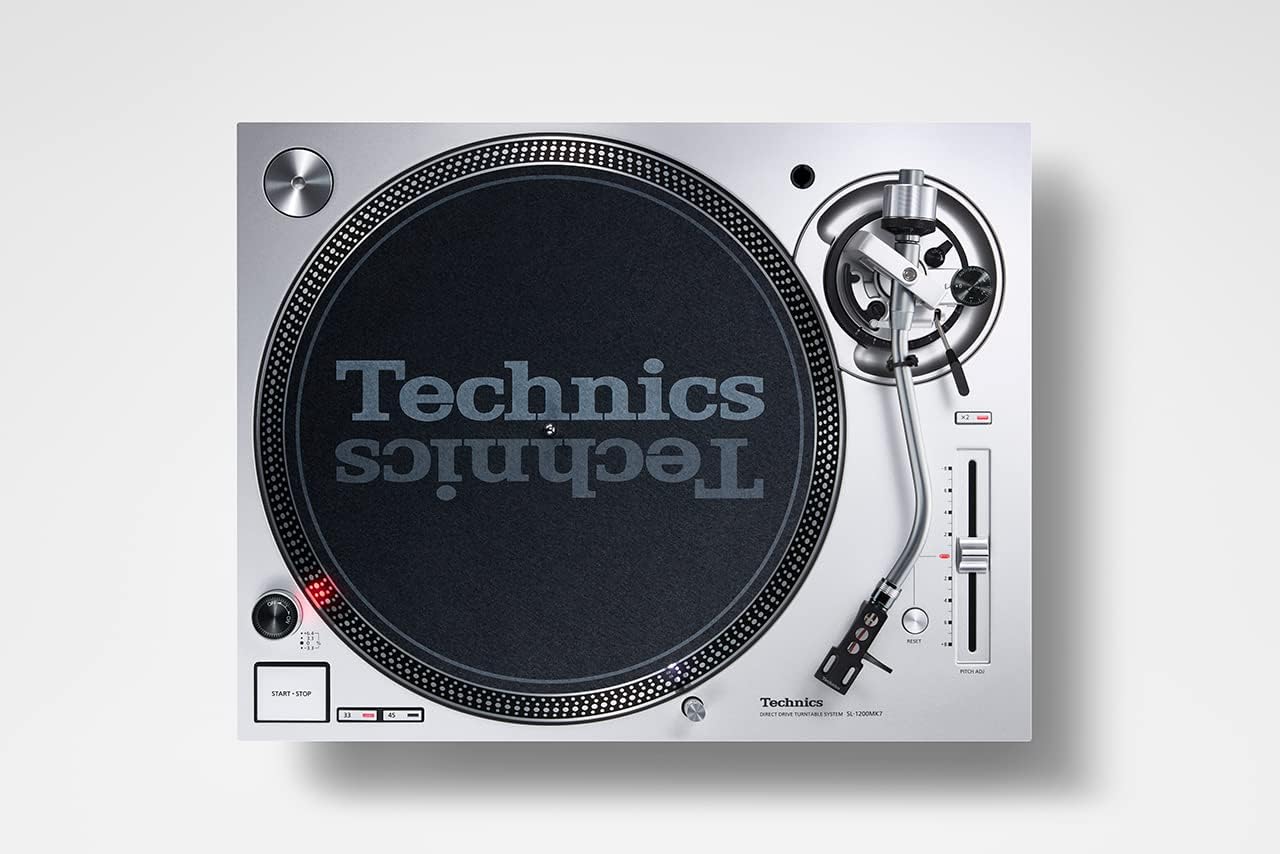
Figura 3.3.1: Da cima à fondu view of the Technics SL-1200MK7, highlighting the platter, tonearm, and control layout. This perspective is useful for understanding component placement during assembly.
3.4 Cunnessioni
- Risultatu RCA: Connect the supplied RCA signal cable from the turntable's RCA output jacks to the PHONO input of your amplifier o phono preamplifier. Ensure correct left (white) and right (red) channel connections.
- Filu di terra: Cunnette u filu di terra da u giradischi à u terminale di terra di u vostru amplifier o phono preamplificatore per minimizà u ronziu.
- putenza: Cunnette u cavu di alimentazione à u giradischi è dopu à una presa murale adatta.

Figura 3.4.1: Side view of the Technics SL-1200MK7, illustrating its sturdy base and adjustable feet. This view helps in understanding the unit's profile and stability features.
4. Operating Instructions
4.1 Accensione / spegnimentu
To power on the turntable, rotate the power switch/strobe illuminator knob clockwise. The strobe light will illuminate. To power off, rotate the knob counter-clockwise until it clicks off.
4.2 Riproduzione di un discu
- Mettite un discu nantu à u platu.
- Select the appropriate speed (33 ⅓, 45, or 78 RPM) using the speed selector buttons. For 78 RPM, refer to the advanced settings in the full manual.
- Appughjà u buttone START/STOP per cumincià a rotazione di u piattu.
- Alzate delicatamente u bracciu aduprendu a leva di cueing.
- Position the tonearm over the desired groove of the record.
- Abbassate pianu pianu a leva di cueing per permette à u stylus di scende nantu à u discu.
- To stop playback, lift the tonearm using the cueing lever and return it to the tonearm rest. Press the START/STOP button to stop the platter.
4.3 Pitch Control
The SL-1200MK7 features a pitch control slider to adjust the playback speed. Move the slider up or down to increase or decrease the speed. The RESET button instantly returns the pitch to 0%.
5. Mantenimentu
5.1 Pulizia
- Copertura di polvere: Wipe with a soft, dry cloth. For stubborn marks, use a slightly damp pannu è detergente delicatu, poi asciugate bè.
- Platter and Chassis: Use a soft, lint-free cloth. Avoid abrasive cleaners.
- Stylus: Use a dedicated stylus brush or cleaner. Always brush from back to front.
5.2 Sustituzione di u Stilu
The stylus is a delicate component and wears over time. Replace it according to your cartridge manufacturer's recommendations (typically every 500-1000 hours of playback). Refer to your cartridge manual for specific replacement instructions.
6. Risoluzione di prublemi
| Prublemu | Causa Possibile | Soluzione |
|---|---|---|
| Nisun sonu o pocu volume | Incorrect connections; Amplifier input not set to PHONO; Cartridge/stylus issue. | Check RCA and ground connections. Ensure amplifier is set to PHONO input. Verify cartridge is properly installed and stylus is not damaged. |
| Sonu distortu | Incorrect tracking force/anti-skate; Worn or dirty stylus; Damaged record. | Adjust tracking force and anti-skate. Clean or replace stylus. Inspect record for damage. |
| U piattu ùn gira micca | Power not connected; START/STOP button not pressed. | Check power cable connection. Press the START/STOP button. |
| Saltà o saltà | Dust on stylus/record; Incorrect tracking force/anti-skate; Turntable not level; Vibrations. | Clean stylus and record. Re-adjust tracking force and anti-skate. Ensure turntable is level and on a stable surface. |
7. Specificazioni
| Feature | Detail |
|---|---|
| Nome di mudellu | Ps 1200 |
| Numeru di mudellu di l'articulu | SL-1200MK7EG |
| Marca | Tecnica |
| Culore | Grisgiu |
| Materiale | Alluminiu |
| Tecnulugia di cunnessione | Ausiliari |
| Velocità di rotazione massima | 78 RPM (supports 33 ⅓, 45, and 78 RPM) |
| Pesu di l'articulu | 22 libbre (circa 10 kg) |
| Dimensioni di u pacchettu | 21.34 x 17.17 x 9.53 inch |
| Cumpunenti inclusi | Lid, power cable, RCA signal cable |
8. Garanzia è Support
For warranty information and technical support, please refer to the warranty card included with your product or visit the official Technics websitu. Conservate a vostra prova d'acquistu per qualsiasi reclamazione di garanzia.
For further assistance, you may contact Technics customer service through their official channels. Please have your model number (SL-1200MK7EG) and serial number ready when contacting support.


