1. Introduzione
This manual provides detailed instructions for the setup, operation, and maintenance of your Bytech BYMCWC101BLK PC Web Camera. Please read this manual thoroughly before using the product to ensure proper functionality and longevity.
2. Cuntenutu di u pacchettu
Verificate chì tutti l'articuli elencati quì sottu sò inclusi in u vostru pacchettu di pruduttu:
- PC Bytech BYMCWC101BLK Web Camera
- Manuale d'uso (stu documentu)
- Cavu USB integratu
3. Setup
Follow these steps to set up your Bytech BYMCWC101BLK PC Web Camera:
- Placement: Posiziona u webcam on top of your computer monitor, laptop screen, or a flat surface. The adjustable clip allows for secure attachment.
- Cunnette vi à l'urdinatore: Plug the integrated USB cable from the webcamma in un portu USB dispunibule nantu à u vostru urdinatore.
- Installazione di driver: U webcam is typically plug-and-play. Your operating system (Windows, macOS, Linux) should automatically detect and install the necessary drivers. Wait for the installation to complete.
- Verificazione: Open a video conferencing application (e.g., Zoom, Skype, Microsoft Teams) or your computer's camera application to confirm the webcam is recognized and displaying video.
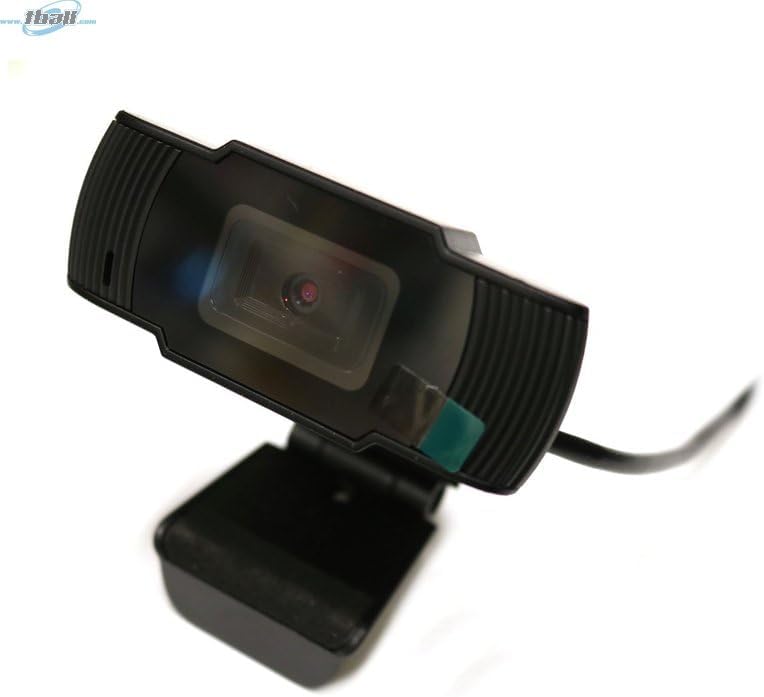
Image: The Bytech BYMCWC101BLK PC Web Camera securely mounted on top of a computer monitor, demonstrating its adjustable clip design.
4. Operating Instructions
Once installed, the Bytech BYMCWC101BLK PC Web Camera can be used with various applications:
- Videoconferenza: Select the Bytech webcam as your video input device within your preferred video conferencing software (e.g., Zoom, Skype, Google Meet).
- Streaming: For live streaming platforms, configure the webcam as your primary video source in your streaming software (e.g., OBS Studio).
- Registrazione: Use your computer's built-in camera application or third-party software to record video.
- Prestazione di luce bassa: U webcam features BSI CMOS photo sensor technology and is designed to perform effectively in low-light conditions, providing clear video even with limited ambient lighting.
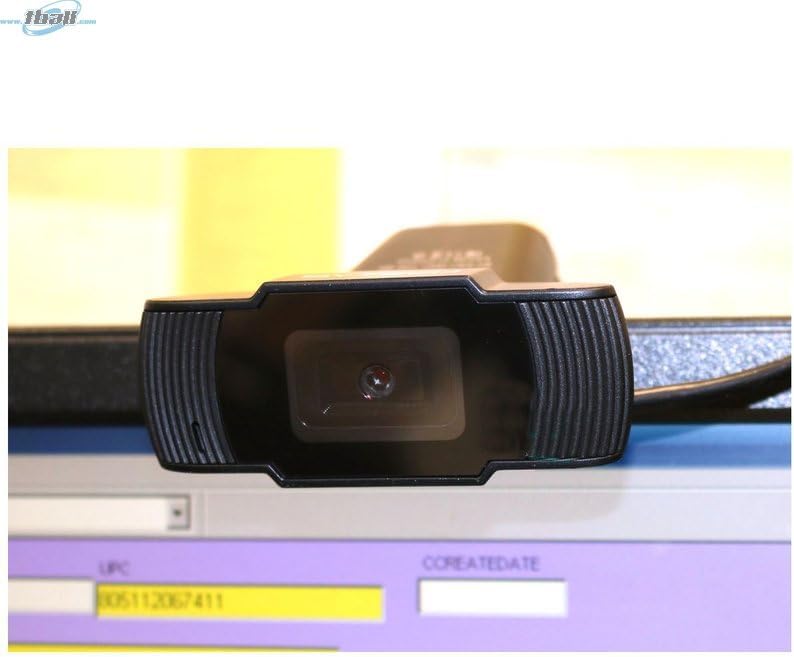
Imagine: Un primu pianu view of the Bytech BYMCWC101BLK PC Web Camera's lens, highlighting its design and integrated privacy cover (if applicable, otherwise just lens).
5. Mantenimentu
To ensure optimal performance and extend the lifespan of your webcamma:
- Pulizia: Asciugate delicatamente a lente cù un pannu dolce è senza pelu. Evitate l'usu di prudutti chimichi aggressivi o materiali abrasivi.
- Conservazione: Quandu ùn hè micca in usu, conservate u webcam in a clean, dry environment away from direct sunlight and extreme temperatures.
- Cura di u cable: Ùn piegate o crimpate micca eccessivamente u cavu USB.
6. Risoluzione di prublemi
Sè avete prublemi cù u vostru webcam, riferitevi à i seguenti prublemi è suluzioni cumuni:
- Nisuna imagine/video:
- Assicuratevi chì u cavu USB sia cunnessu currettamente à i dui webcamera è u vostru urdinatore.
- Pruvate à imbrancà u webcamma in un altru portu USB.
- Restart u vostru urdinatore.
- Check your application settings to ensure the Bytech webcam is selected as the video input device.
- Qualità Video Povera:
- Assicuratevi una illuminazione adatta in u vostru ambiente.
- Pulite u weblente di a camera cù un pannu dolce.
- Check your application's video settings for resolution and frame rate.
- Microphone Not Working (if applicable):
- Verificate chì u webcam's microphone is selected as the audio input device in your computer's sound settings and within your application.
- Ensure the microphone is not muted in your system or application.
7. Specificazioni
| Feature | Detail |
|---|---|
| Nome di mudellu | BYMCWC101BLK |
| Marca | Bytech |
| Tecnulugia di cunnessione | USB |
| Photo Sensor Technology | CMOS BSI |
| Format Video Capture | MP4 |
| Funzione speciale | Luce bassa |
| Culore | Neru |
| Pesu di l'articulu | 4.9 once |
| Dimensioni di u pacchettu | 7.76 x 4.65 x 2.44 inch |
8. Garanzia è Support
For warranty information or technical support, please refer to the documentation included with your purchase or contact your retailer. Keep your proof of purchase for warranty claims.


