1. Introduzione
The Waveshare ESP32-S2 MCU WiFi Development Board is a compact and versatile module designed for Internet of Things (IoT) applications. It features an ESP32-S2FH4 Xtensa single-core 32-bit LX7 microcontroller, operating at up to 240 MHz, and includes an integrated 0.96-inch IPS LCD. This board supports the Raspberry Pi Pico expansion board ecosystem, offering extensive peripheral interfaces and low-power Wi-Fi capabilities for various development projects.
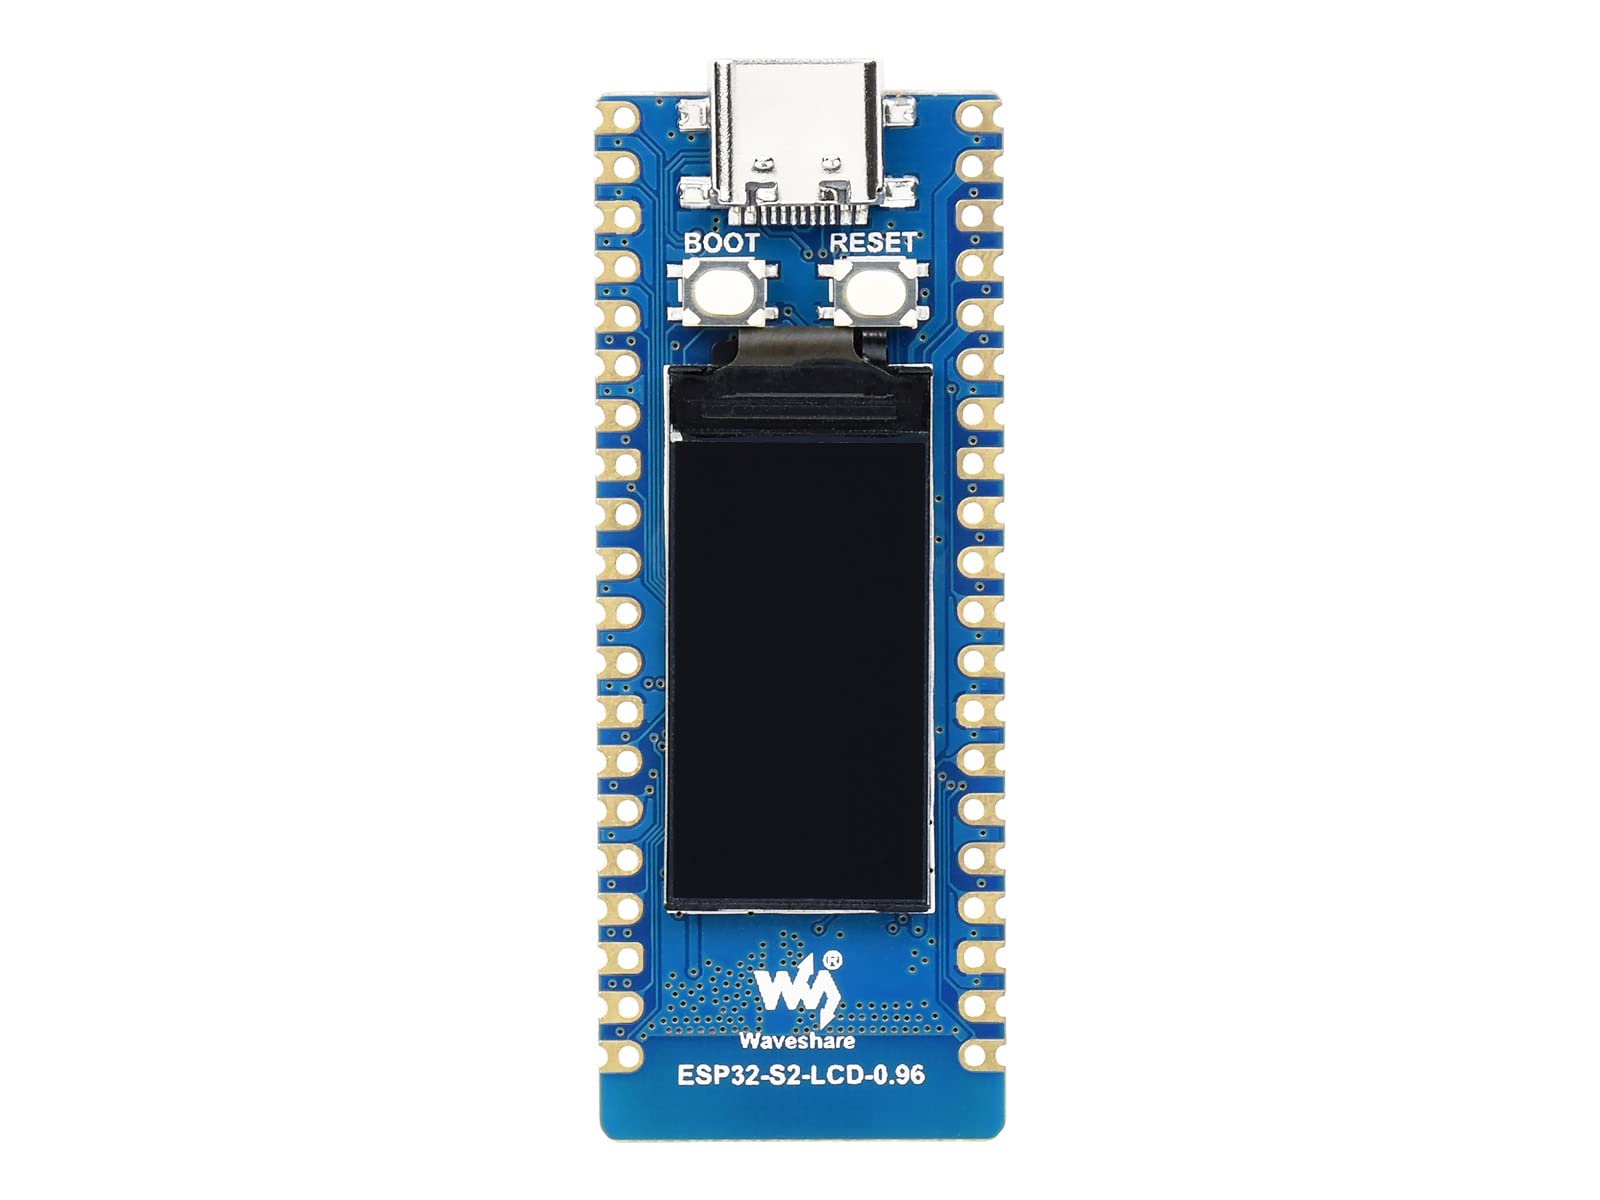
Figura 1: Top view of the ESP32-S2 MCU WiFi Development Board with 0.96-inch IPS LCD.
2. Funzioni chjave
- Microcontroller: Xtensa single-core 32-bit LX7 microprocessor (ESP32-S2FH4), up to 240 MHz.
- Memoria: Integrated 320KB SRAM, 128KB ROM, 8MB PSRAM, 4MB Flash memory.
- Connettività Wireless: 2.4 GHz WiFi (IEEE802.11 b/g/n) with on-board ceramic antenna, up to 150 Mbps data transfer rate.
- Display: On-board 0.96-inch 160×80 pixels 65K color IPS LCD.
- Interfaccia USB: USB-C connector for power and data, with on-chip integrated full-speed USB OTG interface.
- Gestione di l'energia: On-board 1.8A high-efficiency boost/buck DC-DC TPS63000 power supply IC.
- Supportu di a batteria: On-board 3.7V lithium battery charge/discharge header for mobile applications.
- Espansione: Supports Raspberry Pi Pico expansion board ecosystem.
- Sicurezza: Equipped with hardware crypto accelerator, RNG, HMAC, and Digital Signature module.
- periferiche: LCD interface (8-bit serial RGB/8080/6800), TWAI controller (ISO11898-1 compatible), capacitive sensor GPIO, temperature sensor, and RMT (TX/RX).

Figura 2: Cima dettagliata view of the development board, highlighting the ESP32-S2 chip, USB-C port, and buttons.

Figure 3: Detailed bottom view of the development board, showing additional components and pin labels.
3. Cuntenutu di u pacchettu
The package includes the following item:
- ESP32-S2-LCD-0.96 x 1
4. Setup
- Alimentazione elettrica: Connect the ESP32-S2 board to a computer or a 5V power adapter using a USB-C cable. The board can also be powered via the 3.7V lithium battery header.
- Installazione di driver: Depending on your operating system, you may need to install a USB-to-serial driver. Most modern operating systems will automatically recognize the device.
- Ambiente di sviluppu: Install your preferred development environment, such as Arduino IDE, ESP-IDF, MicroPython, or CircuitPython. Ensure the necessary board support packages and toolchains are installed.
- Cunnette vi à u PC: Plug the USB-C cable into the board and your computer. The board should be recognized as a serial port.
5. Operating Instructions
- Prugrammazione: Write your code using the chosen development environment. The ESP32-S2 supports various programming languages and frameworks.
- Uploading Code: Select the correct serial port for your board in the IDE. Compile and upload your code to the ESP32-S2. The board may require entering bootloader mode by holding the BOOT button while pressing and releasing the RESET button, then releasing BOOT.
- Using the LCD: The integrated 0.96-inch IPS LCD can be programmed to display information. Refer to the specific display library documentation for your chosen development environment (e.g., Adafruit GFX library for Arduino).
- Connettività WiFi: Utilize the ESP32-S2's built-in 2.4 GHz WiFi for network communication. Libraries are available to connect to access points, host soft APs, and implement various network protocols.
- GPIO Usage: The board provides numerous General Purpose Input/Output (GPIO) pins. Refer to the pinout diagram for their functions and connect external components as needed.
- Raspberry Pi Pico Expansion: Leverage the compatibility with the Raspberry Pi Pico expansion board ecosystem for additional modules and functionalities.
6. Diagramma di pinout
Understanding the pinout is crucial for connecting peripherals and utilizing the full capabilities of the ESP32-S2 development board. The diagram below illustrates the various pins and their functions.

Figure 4: Pinout diagram for the ESP32-S2 development board, detailing GPIO, power, and communication pins, including specific LCD used pins.
The diagram categorizes pins by function (Power, Ground, UART, GPIO, ADC, SPI, I2C, System Control) to aid in development. Pay close attention to the LCD-specific pins for display integration.
7. Dimensioni
The physical dimensions of the ESP32-S2 development board are important for enclosure design and integration into projects.

Figure 5: Dimensional drawing of the ESP32-S2 LCD version, showing measurements in millimeters.
- Dimensioni di u pruduttu (LxWxH): 2.01 x 0.83 x 0.08 pollici (circa 51 x 21 x 2 mm)
8. Mantenimentu
- Conservazione: Conservate a scheda in un ambiente seccu è antistaticu quandu ùn hè micca in usu.
- Pulizia: If necessary, gently clean the board with a soft, dry brush or compressed air. Avoid using liquids or abrasive materials.
- Trattamentu: Handle the board by its edges to avoid touching components, especially the pins, to prevent electrostatic discharge (ESD) damage.
- putenza: Always disconnect power before making or changing connections to the board.
9. Risoluzione di prublemi
- Board Not Detected:
- Ensure the USB-C cable is securely connected to both the board and your computer.
- Pruvate un altru cavu USB-C o una porta USB nant'à u vostru urdinatore.
- Verify that the necessary USB-to-serial drivers are installed for your operating system.
- Code Upload Failure:
- Confirm that the correct serial port is selected in your development environment.
- Ensure the board is in bootloader mode during upload (hold BOOT, press/release RESET, then release BOOT).
- Check for compilation errors in your code.
- Problemi di cunnessione WiFi:
- Verify your WiFi credentials (SSID and password) are correct in your code.
- Ensure the WiFi network is within range and operating on the 2.4 GHz band.
- Check for any firewall or router settings that might be blocking the connection.
- LCD Not Displaying:
- Confirm that the LCD initialization code is correct and that the display library is properly configured.
- Check power supply to the board.
10. Specificazioni
| Feature | Specificazione |
|---|---|
| Processore | Xtensa Single-Core 32-bit LX7 (ESP32-S2FH4) |
| A velocità di CPU | Finu à 240 MHz |
| RAM | 320KB di SRAM, 8MB di PSRAM |
| ROM | 128 KB |
| Memoria flash | 4 MB |
| Tipu wireless | 2.4 GHz WiFi (IEEE802.11 b/g/n) |
| Mostra | 0.96-inch 160×80 IPS LCD, 65K colors |
| Tecnulugia di cunnessione | Wi-Fi, USB-C |
| Supportu di u Sistema Operativu | Linux (for development), various RTOS/frameworks |
| Alimentazione IC | TPS63000 (1.8A boost/buck DC-DC) |
| Supportu di batterie | 3.7V Lithium battery charge/discharge header |
| Pesu di l'articulu | 1.13 once (circa 32 g) |
| Dimensioni di u produttu (LxWxH) | 2.01 x 0.83 x 0.08 inch (51 x 21 x 2 mm) |
| Numero di mudellu | ESP32-S2+0.96 LCD for Pico-N |
| U fabricatore | Waveshare |
11. Garanzia è Support
Per infurmazioni nantu à a garanzia è l'assistenza tecnica, vi pregu di cunsultà u situ ufficiale di Waveshare. website or contact their customer service. Product documentation, examples, and community forums may also be available to assist with your development projects.
You can visit the official Waveshare store for more information and resources: Waveshare Store


