1. Produttu Finituview
The Warrior 18V Cordless 3/8 Inch Drill/Driver Kit is designed for various drilling and driving tasks around the home and workshop. This versatile tool features a variable speed trigger, an electric brake, and 20 torque clutch settings for precise control. A keyless chuck allows for quick and easy bit changes, and a built-in LED light illuminates the work area for improved visibility in dark corners. The included 18V Lithium-Ion battery is interchangeable with other 18 Volt Warrior tools, offering convenience and flexibility.
Funzioni chjave:
- Variable speed, reversible operation
- Electric brake for immediate stopping
- 20 torque clutch settings for diverse applications
- Keyless chuck for quick bit changes
- Integrated LED light for enhanced visibility
- 18 Volt Lithium-Ion battery, interchangeable with other Warrior 18V tools
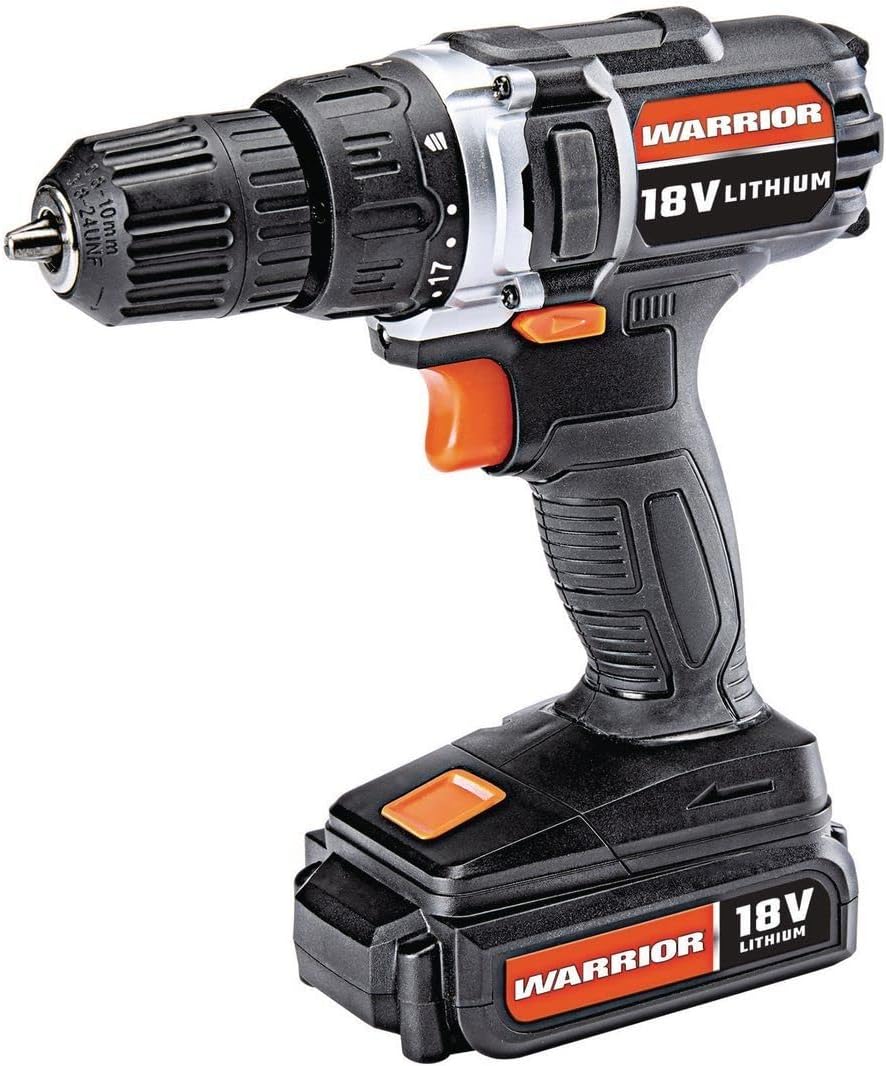
Figure 1: The Warrior 18V Cordless 3/8 Inch Drill/Driver Kit, showcasing u so design compactu è e so caratteristiche principali.
2. Setup
2.1 Caricamentu è installazione di a batteria
- Caricà a Batteria: Connect the provided barrel charger to the charging port located on the battery pack. Plug the charger into a standard electrical outlet. The indicator light on the charger will show the charging status (e.g., red for charging, green for fully charged). Ensure the battery is fully charged before first use.
- Installazione di a batteria: Align the battery pack with the base of the drill handle. Slide the battery into place until it clicks securely. Ensure it is firmly seated to prevent accidental detachment during operation.
- Cacciate a Batteria: Press the battery release buttons (typically on the sides of the battery pack) and slide the battery out of the drill handle.
2.2 Inserting and Removing Drill Bits
- Apri u Chuck: Rotate the front collar of the keyless chuck counter-clockwise until the jaws are wide enough to accept the desired drill bit or driver bit.
- Inserite u Bit: Insert the shank of the drill bit or driver bit into the chuck jaws. Ensure the bit is centered and inserted as far as possible without touching the chuck body.
- Stringhje u Mandrinu: Rotate the front collar of the chuck clockwise until the jaws firmly grip the bit. For maximum grip, give it an extra twist by hand.
- Remove the Bit: Rotate the front collar of the chuck counter-clockwise to loosen the jaws and remove the bit.

Figura 2: Overview of the drill's features, including the 20 clutch settings, LED light, variable speed, and lightweight design.
3. Operating Instructions
3.1 Accensione/Spegnimentu è Cuntrollu di Velocità Variabile
- To start the drill, press the trigger switch. The speed of the drill is controlled by the amount of pressure applied to the trigger; pressing it further increases the speed.
- To stop the drill, release the trigger switch. The electric brake will engage, stopping the chuck rotation quickly.
3.2 Rotazione avanti/indietro
- The forward/reverse selector switch is located above the trigger.
- Push the switch to the left for forward rotation (for drilling and driving screws).
- Push the switch to the right for reverse rotation (for removing screws or backing out drill bits).
- When the switch is in the center position, the trigger is locked, preventing accidental startup.
3.3 Impostazioni di a coppia di frizione
- The torque clutch ring is located behind the chuck. It has 20 numbered settings and a drill symbol.
- Rotate the ring to select the desired torque setting. Lower numbers provide less torque, suitable for smaller screws and softer materials to prevent over-driving or stripping. Higher numbers provide more torque for larger screws and harder materials.
- For drilling applications, select the drill symbol setting for maximum torque.
3.4 Luce di travagliu LED
- The integrated LED work light automatically illuminates when the trigger is pressed, providing light to the work surface.

Figure 3: The Warrior 18V Cordless Drill in use, demonstrating its application for household tasks like installing a grab bar.
4. Mantenimentu
4.1 Pulizia generale
- Keep the tool's air vents clean and free of debris to ensure proper motor cooling.
- Asciugate l'arnese cù un pannu pulitu, damp tela. Ùn aduprate micca chimichi duri o detergenti abrasivi.
- Regularly inspect the chuck jaws for wear and clean any accumulated dust or debris.
4.2 Cura è almacenamentu di a batteria
- Conservez la batterie dans un endroit frais et sec à l'abri de la lumière directe du soleil et des températures extrêmes.
- Per un almacenamentu à longu andà, hè cunsigliatu di carica a batteria à circa u 50% di a so capacità.
- Evitate di svuotà cumpletamente a batteria prima di ricaricalla, postu chì questu pò riduce a so durata di vita.
5. Risoluzione di prublemi
5.1 Drill Does Not Operate
- Assicuratevi chì a bateria hè completamente carica è installata bè.
- Check that the forward/reverse selector switch is not in the center (locked) position.
- Verify that the charger is disconnected from the battery when attempting to operate the drill.
5.2 Reduced Power or Performance
- A batteria pò esse bassa. Ricaricate a batteria.
- The torque clutch setting may be too low for the task. Adjust to a higher setting or the drill mode.
- Ensure the drill bit is sharp and appropriate for the material being worked on.
6. Specificazioni
| Feature | Specificazione |
|---|---|
| Marca | Guerrieru |
| Numero di mudellu | Warior-XXX |
| Fonte d'energia | Alimentatu à batteria |
| Voltage | 18 Volts |
| Tipu di pila di batterie | Lithium Ion |
| Velocità di rotazione massima | 900 RPM |
| Impostazioni di coppia | 20 Impostazioni di embrague |
| Tipu Chuck | Chuck senza Chjave |
| Capacità di perforazione di u legnu | 1 inch |
| Pesu di l'articulu | 2.47 liri |
| Materiale | Plastica |
| Funzioni spiciali | Variable Speed, LED Light |
| UPC | 798993496886 |
7. Garanzia è Support
Specific warranty information and customer support contact details were not provided in the product data. Please refer to the product packaging or the manufacturer's official website for the most up-to-date warranty terms and support options.


