1. Introduzione
This manual provides detailed instructions for the proper installation, operation, and maintenance of your KICKER CompR Subwoofer Enclosure system. Please read this manual thoroughly before use to ensure optimal performance and longevity of your product.
2. Ciò chì hè inclusu
U pacchettu include i seguenti cumpunenti:
- Pair (QTY 2) of Kicker 48VCWR122 CompR 12" 1000 Watt Peak Power 2 Ohm Black Car Audio Subwoofer Enclosures
- 50 feet 16 Gauge Speaker Wire
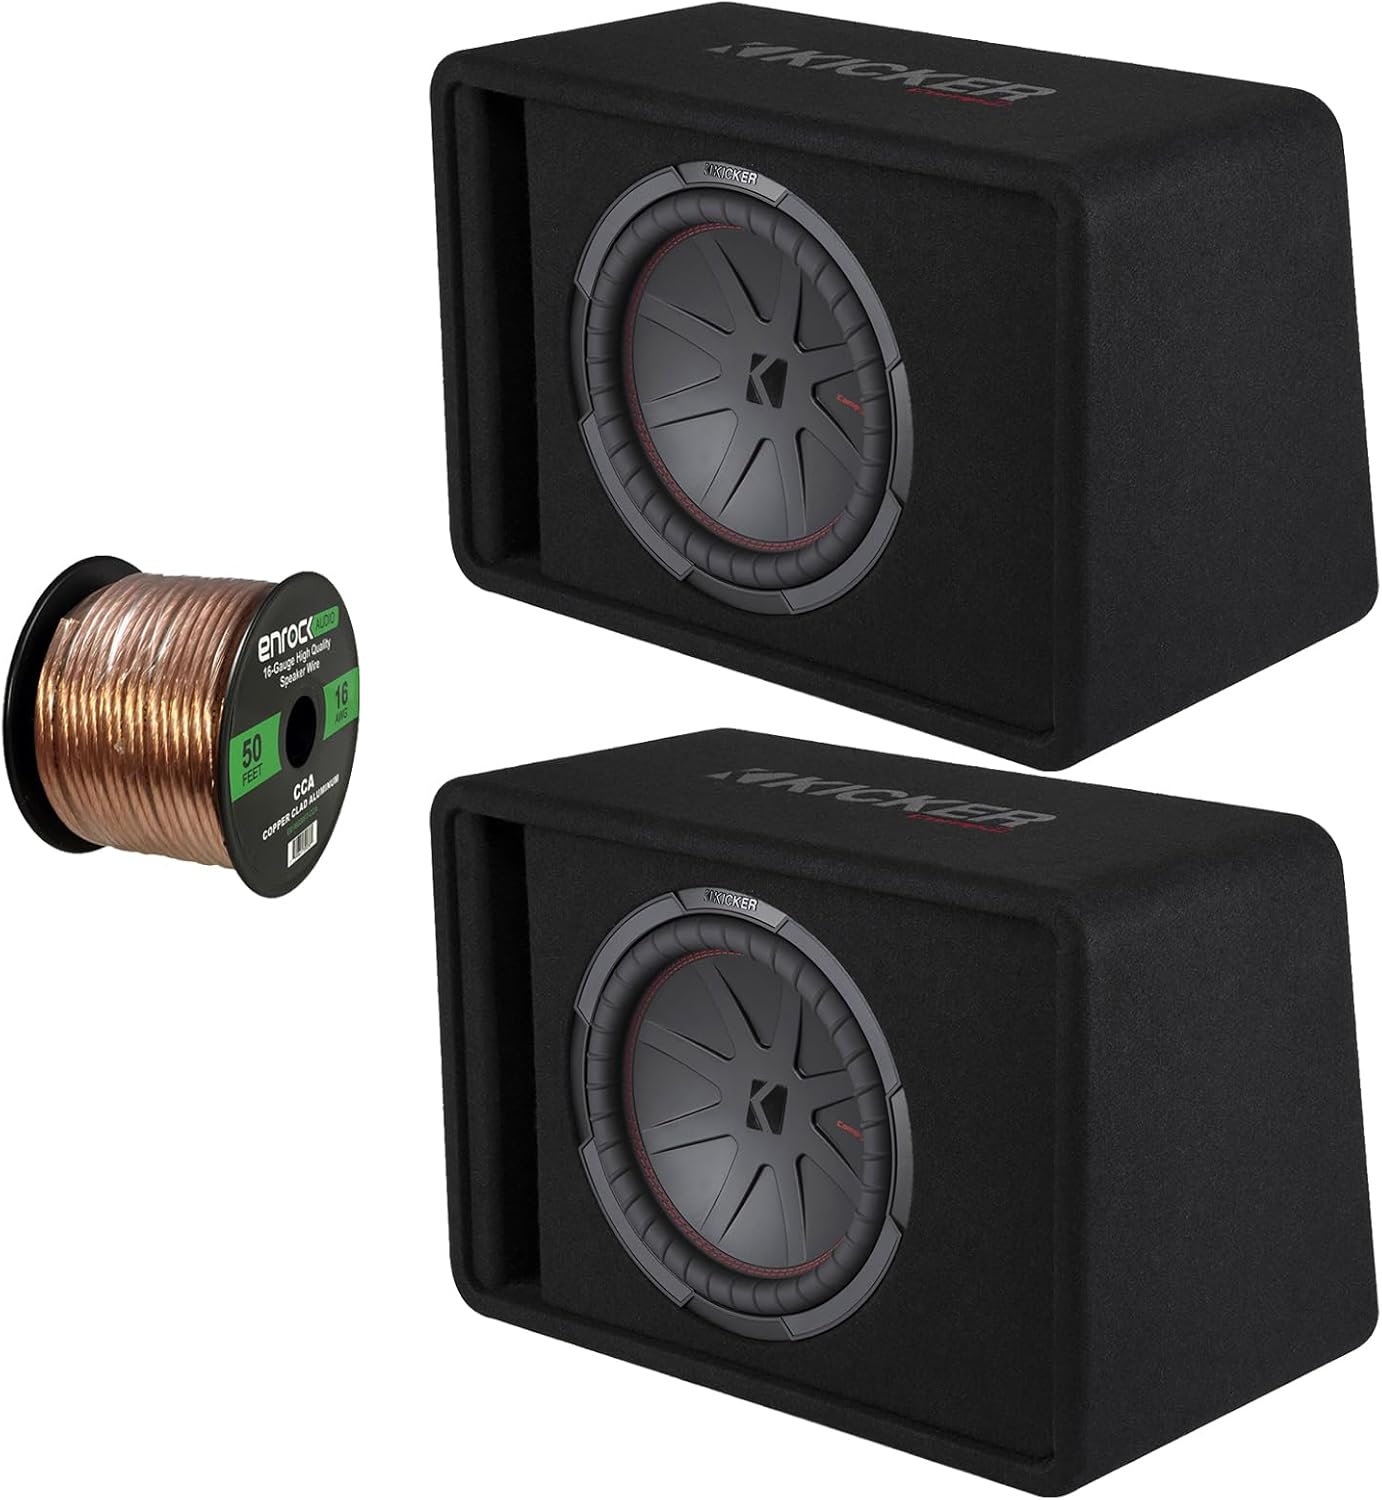
Image: Two Kicker CompR 12-inch subwoofer enclosures (black, rectangular) and a spool of 50 feet of 16-gauge copper-clad aluminum speaker wire. The subwoofers feature a black cone with a red stitched surround and a Kicker logo in the center.
3. Specificazioni
| Feature | Detail |
|---|---|
| Nome di mudellu | 2-CWR122 |
| Tipu di parlante | Subwoofer |
| Size Speaker | 12 inch |
| Manipulazione di Peak Power | 1000 Watt |
| Gestione di l'energia RMS | 500 Watt |
| Impedenza | 2 Ohms |
| Frequenza di tuning | 36 Hz |
| SNR | 90.8 dB |
| Materiale Woofer Cone | Polipropilene |
| Materiale Circundante | Santoprene |
| Tecnulugia di Cooling | Raffreddamentu à l'aria forzata |
| Custruzzione di recinzioni | MDF (pannelli di fibre di media densità) |
| Dimensioni di u produttu | 10"D x 10"W x 10"H (per enclosure) |
| Calibro di filu di parlante | Calibru 16 |
| Lunghezza di u filu di parlante | 50 Piedi |
| Tecnulugia di cunnessione | Wired |
| Tipu di muntatura | Sottu à u sedile |
4. Setup è Installazione
4.1 Precauzioni di sicurezza
- Scollegate sempre a batteria di u veiculu prima di inizià qualsiasi installazione elettrica.
- Ensure proper ventilation for the subwoofer enclosures to prevent overheating.
- Aduprate strumenti adatti è purtate occhiali di sicurezza durante l'installazione.
- If unsure about any step, consult a professional car audio installer.
4.2 Scelta di un Locu di Muntamentu
The KICKER CompR subwoofer enclosures are designed for compact spaces, ideal for under-seat or behind-seat mounting. Consider the following when selecting a location:
- Space Availability: Ensure there is sufficient clearance for the enclosure dimensions (10"D x 10"W x 10"H).
- Muntamentu sicuru: The enclosure must be securely fastened to prevent movement during vehicle operation.
- Instradamentu di filu: Plan for clean and safe routing of speaker wires to your amppiù vivu.
- acustica: Experiment with placement if possible to find the best sound performance for your vehicle's interior.
4.3 Istruzzioni di cablaggio
The subwoofer enclosures have a 2 Ohm impedance. Ensure your amplifier is stable at this impedance. The included 16-gauge speaker wire is suitable for connecting the subwoofers to your amppiù vivu.
- Preparate i fili: Cut the 16-gauge speaker wire to the required lengths for each subwoofer. Strip approximately 0.5 inches of insulation from both ends of each wire.
- Connect to Subwoofer: Connect the positive (+) terminal of the speaker wire to the positive terminal on the subwoofer enclosure. Connect the negative (-) terminal of the speaker wire to the negative terminal on the subwoofer enclosure. Ensure a secure connection.
- Cunnette vi Amppiù vivu: Route the speaker wires to your amplifier. Connect the positive (+) wire from each subwoofer to the corresponding positive (+) output terminal on your amplifier. Connect the negative (-) wire from each subwoofer to the corresponding negative (-) output terminal on your amppiù vivu.
- Verificate a polarità: Double-check all connections to ensure correct polarity. Incorrect polarity can lead to reduced bass output and poor sound quality.
Nota: For optimal performance, it is recommended to use an amplifier capable of delivering around 500 watts RMS per subwoofer at 2 Ohms.
5. Operating Instructions
Once the KICKER CompR subwoofer enclosures are properly installed and connected to an amplifier, follow these steps for operation:
- Power On: Turn on your car audio system and the connected amppiù vivu.
- Impostazione di u guadagnu iniziale: Cumincià cù u amplifier's gain control set to its minimum (lowest) position.
- Adjust Head Unit Volume: Play a familiar piece of music with good bass content. Gradually increase the volume on your head unit (car stereo) until it reaches about 75% of its maximum level.
- Aghjustate Amplifier Guadagno: Slowly increase the gain control on your amplifier until you hear distortion or the bass becomes muddy. Then, back off the gain slightly until the sound is clean and clear. This sets the maximum undistorted output of your amppiù vivu.
- Fine-Tune Bass: Use the bass boost, crossover, and phase controls on your amplifier or head unit to fine-tune the bass response to your preference.
- Ascoltà a distorsione: Always listen for signs of distortion (e.g., crackling, buzzing, muddy bass). If distortion is heard, reduce the volume or amplifier gain immediately to prevent damage to the subwoofers.
Impurtante: Avoid prolonged operation at high volumes with audible distortion, as this can cause permanent damage to the subwoofers.
6. Mantenimentu
The KICKER CompR subwoofer enclosures are designed for durability and require minimal maintenance. Follow these guidelines to ensure their longevity:
- Pulizia: Use a soft, dry cloth to wipe down the enclosure and subwoofer cone. Avoid using harsh chemicals or abrasive cleaners.
- Ispezione: Periodically inspect the speaker wire connections for any signs of corrosion or looseness. Ensure the enclosure is still securely mounted.
- Cundizioni Ambientali: While the enclosures are robust, avoid exposing them to extreme moisture or direct sunlight for extended periods.
- Ventilazione: Ensure that the area around the enclosures allows for proper airflow, especially for the Forced-Air Cooling system, to prevent heat buildup.
7. Risoluzione di prublemi
| Prublemu | Causa Possibile | Soluzione |
|---|---|---|
| No Sound from Subwoofers |
|
|
| Distorted or Muffled Bass |
|
|
| Bassi debuli in uscita |
|
|
8. Garanzia è Support
KICKER products are designed and engineered to provide years of reliable performance. This product comes with a limited warranty. Please refer to the official KICKER websitu o a vostra ducumentazione d'acquistu per i termini è e cundizioni specifiche di garanzia.
For technical support, troubleshooting assistance, or warranty claims, please contact KICKER customer service or visit their official websitu:
KICKER Ufficiale Websitu: www.kicker.com
KICKER Store on Amazon: Visit the KICKER Store
Please have your product model number (2-CWR122) and proof of purchase ready when contacting support.


