1. Introduzione
This manual provides essential instructions for setting up, operating, and maintaining your VGKE Mini Projector. Please read it thoroughly before using the product to ensure optimal performance and longevity.

Figure 1: VGKE Mini Projector and its stand.
2. Setup
2.1 Unboxing
Carefully unpack all components from the product box. Ensure all items listed in the package contents are present.
Video 1: Unboxing the projector and its accessories.
2.2 Physical Setup and Power Connection
Place the projector on a stable, flat surface. The projector features a 90-degree adjustable and retractable stand for flexible positioning. Connect the power cord to the projector and then to a power outlet.

Figure 2: The VGKE Mini Projector demonstrating its 90-degree adjustable lens for flexible projection onto walls or ceilings.
Video 2: Demonstrating power connection and initial startup of a smart Android projector.
2.3 Accoppiu di Cuntrollu à Distanza
To ensure full functionality, pair the remote control with your projector. Follow the on-screen instructions or refer to the video below.
Video 3: Instructions on how to pair the Bluetooth remote control with the projector.
2.4 Cunfigurazione di Rete
Connect your projector to your Wi-Fi network and sign in to your Google account to access smart features and apps. Follow the on-screen prompts.
Video 4: Guide on how to start and configure the projector, including Wi-Fi and Google account setup.
2.5 Connecting to iOS/Android Devices
The projector supports AirPlay/Miracast/Google Cast for screen mirroring. Ensure your device and projector are on the same Wi-Fi network.
- Per Dispositivi iOS: Select the 'E-Share' app on the home page, turn on 'AirPlay' in settings, and select the projector from your iOS device's screen mirroring options.
- Per i dispositi Android: Select the 'E-Share' app on the home page, turn on 'Miracast' in settings, and select the projector from your Android device's wireless projection options.

Figure 3: Instructions for connecting to an iOS device for screen mirroring.

Figure 4: Instructions for connecting to an Android device for screen mirroring.
3. Operating Instructions
3.1 Projection Adjustment
The projector features 3D TOF autofocus and auto keystone correction for a clear image. You can also manually adjust the focus if needed.
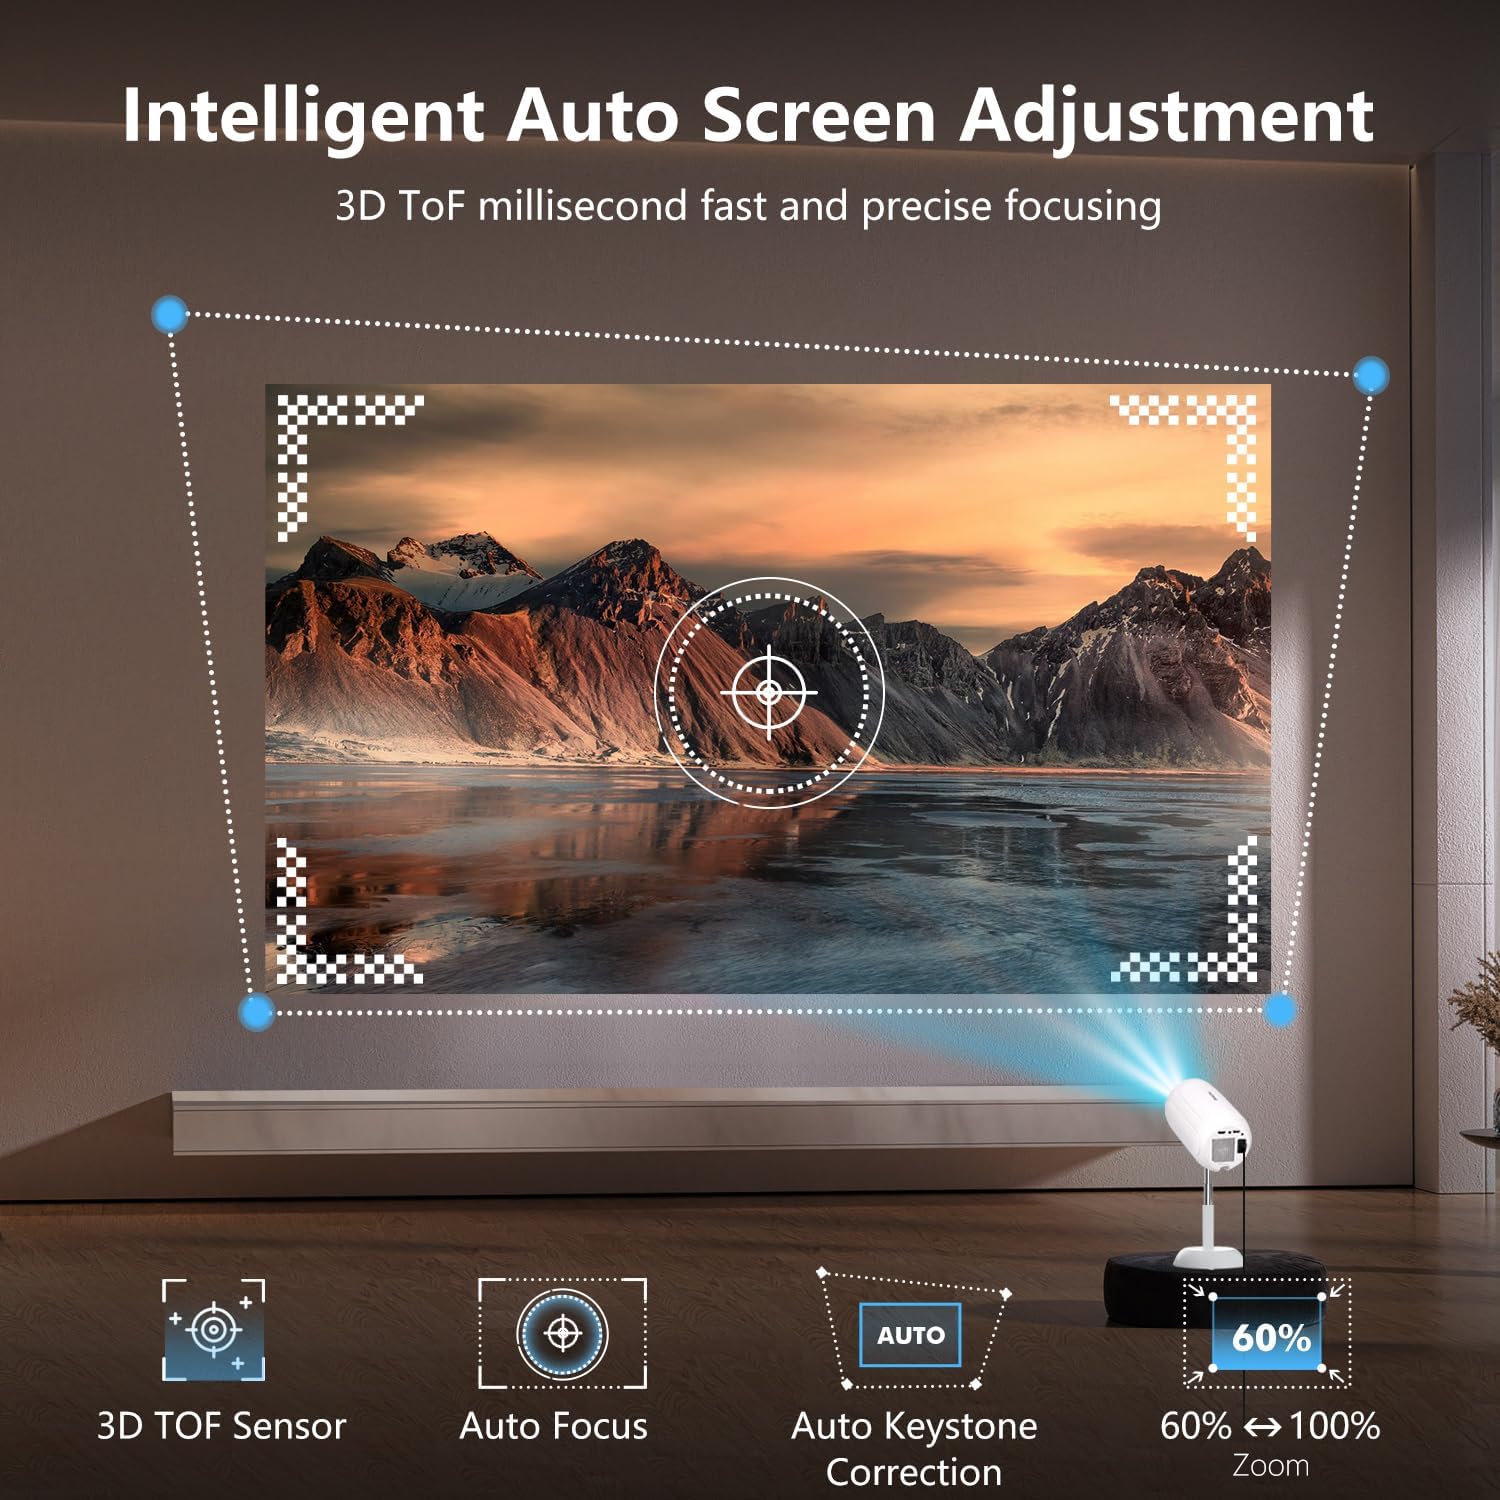
Figure 5: Illustration of the projector's intelligent auto screen adjustment features, including 3D TOF sensor, autofocus, and auto keystone correction.
3.2 Utilizendu l'applicazioni integrate
The projector runs on Android 13.0, allowing direct access to over 8,000 apps like Netflix, Prime Video, YouTube, and Disney+ without external devices.

Figure 6: The VGKE Mini Projector displaying its smart interface with pre-installed applications for direct streaming.
3.3 Screen Mirroring
Mirror content from your iOS or Android devices seamlessly using AirPlay, Miracast, or Google Cast. Ensure a stable WiFi 6 connection for optimal performance.
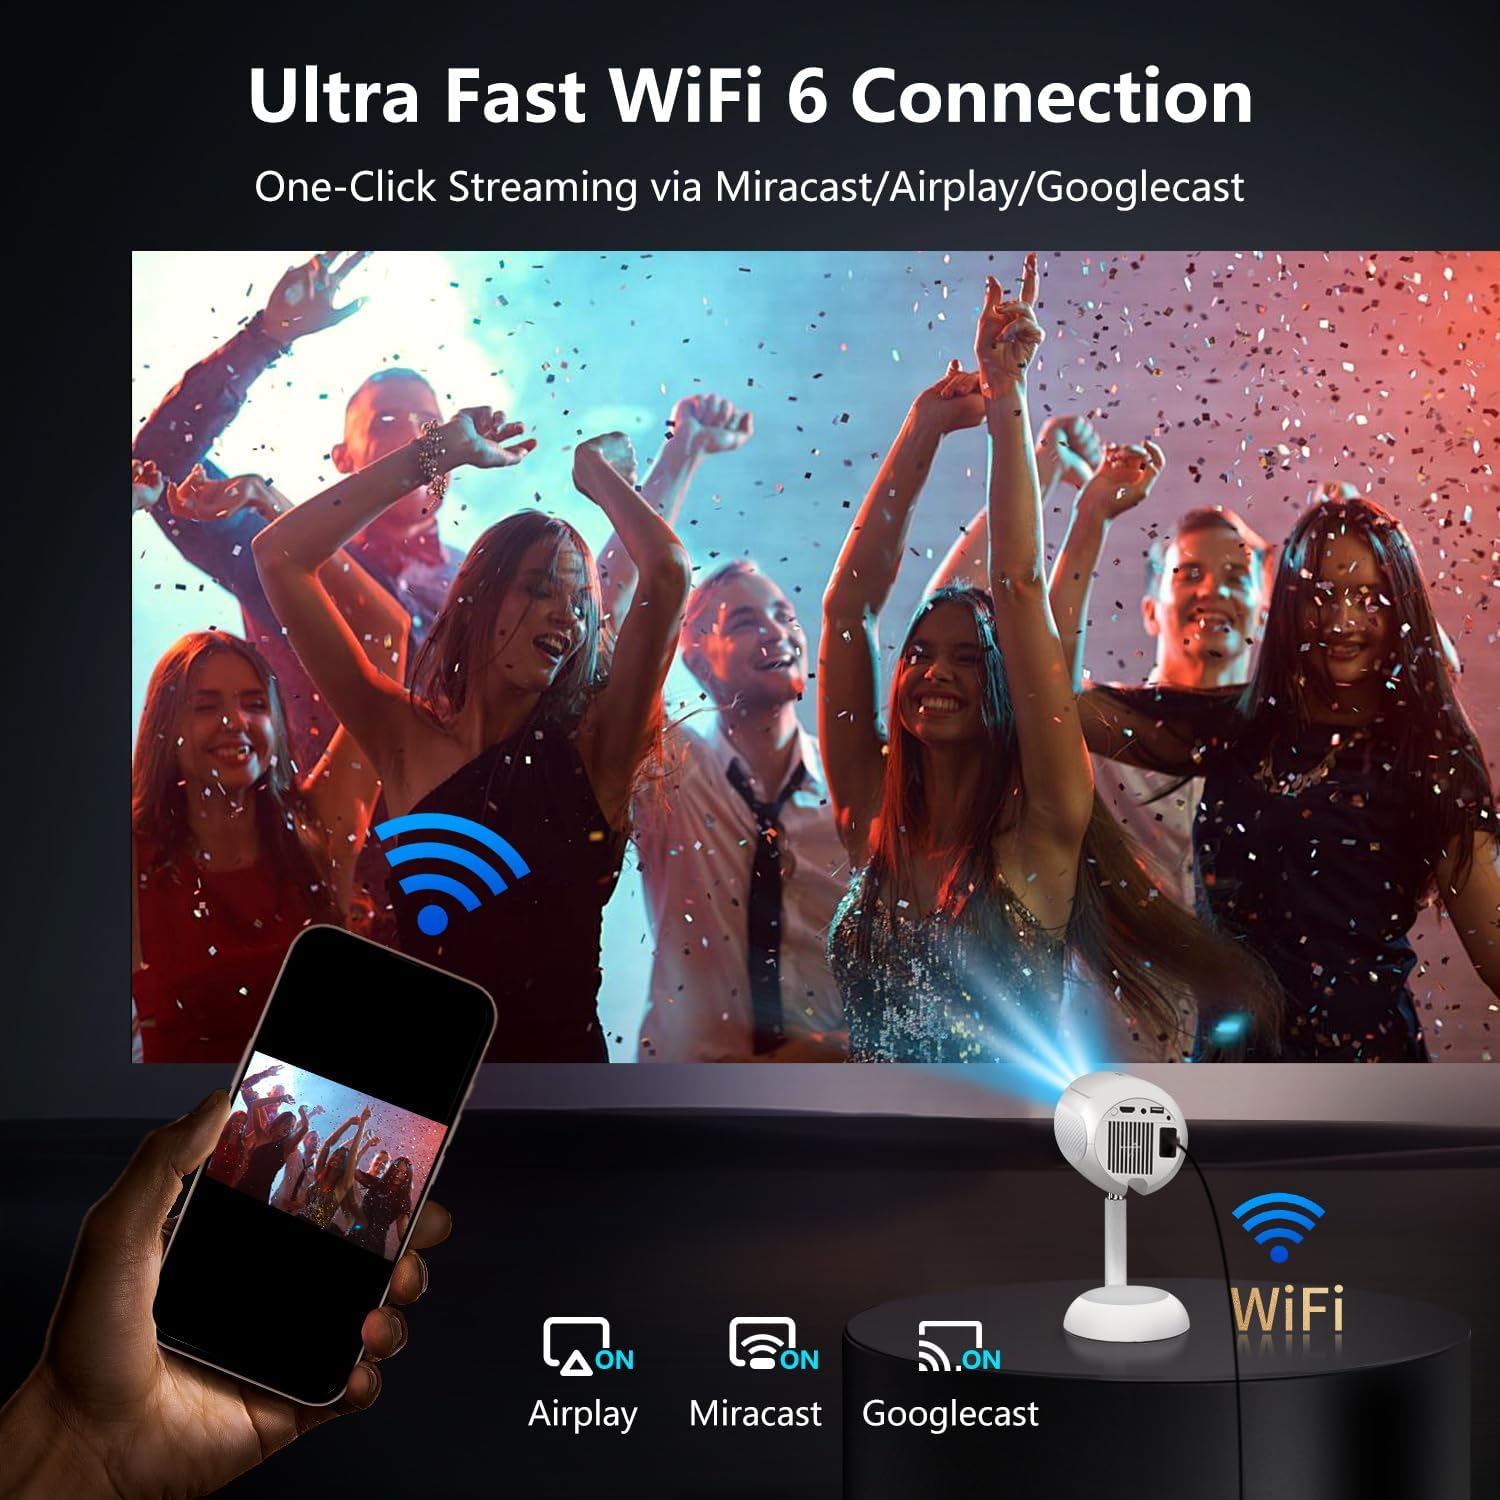
Figure 7: The projector connected via Ultra Fast WiFi 6, demonstrating one-click streaming via Miracast, Airplay, and Googlecast.
3.4 Cunnessione Bluetooth
Connect external Bluetooth 5.2 devices such as soundbars or headphones for an enhanced audio experience.

Figure 8: The VGKE Mini Projector utilizing two-way Bluetooth 5.2 for immersive stereo audio experience with external speakers.
3.5 Cunnessione di dispositivi esterni
Utilize the HDMI, AV, and USB ports to connect various devices like smartphones, laptops, tablets, DVD players, and TV sticks/boxes.

Figure 9: The projector's versatile connectivity options, including HDMI, USB, and Audio ports, compatible with smartphones, laptops, and gaming consoles.
4. Mantenimentu
4.1 Cleaning the Projector Lens and Internal Dust
Regular cleaning ensures optimal image quality. Use a flat screwdriver or art knife to open the dust cover. Use a cotton swab from the cleaning kit to gently clean any black spots on the projector LCD screen. Remember to put the dust cover back on after cleaning.
Video 5: Detailed instructions on how to clean the internal dust from the projector.
5. Risoluzione di prublemi
- No Image: Ensure the power cord is securely connected and the projector is turned on. Check the input source (HDMI, USB) is correctly selected.
- Immagine sfocata: Use the auto-focus feature or manually adjust the focus dial. Ensure the projection surface is flat and the projector is positioned correctly.
- Nisun sonu: Check the volume settings on the projector and any connected external audio devices. Ensure Bluetooth audio is correctly paired or HDMI audio is selected.
- Prublemi di cunnessione (Wi-Fi/Bluetooth): Ensure the projector is within range of the network/device. Re-enter Wi-Fi passwords or re-pair Bluetooth devices.
- U cuntrollu remoto ùn risponde micca: Check the batteries in the remote control. Re-pair the remote control if necessary.
6. Specificazioni
| Feature | Detail |
|---|---|
| Marca | VGKE |
| Mudellu | 16000LM_Android Projector |
| Dimensioni di u produttu | 15.49 x 15.49 x 24.38 cm |
| Pesu di l'articulu | 1.36 kg |
| Fattore di forma | Portable |
| Risoluzione di u screnu | 1280 x 720 (Nativu) |
| Risoluzione di Display Massimu | 3840 x 2160 Pixel (Supportu 4K) |
| Sistema upirativu | Android 13.0 |
| Funzioni spiciali | 3D TOF Autofocus, Auto Keystone, 90° Adjustable, Built-in Apps |
| Tecnulugia di cunnessione | Bluetooth 5.2, HDMI, Wi-Fi 6 (2.4G/5G), AV, USB |
| Fonte d'energia | CA (230 Volt) |
| Cumpunenti inclusi | Power Cord, Remote, User Manual |
7. Garanzia è Support
VGKE is committed to providing reliable after-sales support. For any inquiries, technical assistance, or warranty claims, please contact VGKE customer service. Our team is always ready to provide you with consultation or assistance.
Per piacè riferitevi à a vostra ducumentazione d'acquistu per i termini specifici di garanzia è i dettagli di cuntattu.


