1. Introduzione
This manual provides essential instructions for the safe and effective operation, maintenance, and troubleshooting of your VEVOR Drain Cleaner Machine. Please read this manual thoroughly before initial use and retain it for future reference.
2. Informazioni di sicurezza
Always prioritize safety when operating the drain cleaner. Failure to follow safety guidelines can result in serious injury or damage to the equipment.
- Portate equipaggiamenti di prutezzione individuale (PPE) adatti, cumpresi guanti resistenti è prutezzione per l'ochji.
- Ensure the machine is properly grounded and connected to a GFCI-protected outlet.
- Do not operate the machine in wet conditions or near flammable materials.
- Tenite e mani è i vestiti larghi luntanu da e parti rotanti.
- Never force the cable. If it jams, reverse the motor direction briefly to free it.
- Always turn off and unplug the machine before performing any maintenance or changing cutters.
- Mantene i zitelli è i passanti luntanu da l'area operativa.
3. Cumpunenti di u produttu
The VEVOR Drain Cleaner Machine comes with the main unit, an axle, wheels, and a set of interchangeable cutters.

Figure 1: VEVOR Drain Cleaner Machine with included accessories, including the main unit, wheels, and a selection of cutter heads.
Included Cutters:
The machine includes 8 quick-change cutters designed for various types of blockages and pipe conditions. These are stored on a convenient rack on the machine's frame.

Figura 2: Un primu pianu view of the eight interchangeable cutter heads, each designed for specific drain cleaning tasks, stored on the machine's frame.
4. Setup
Minimal assembly is required before first use.
- Attach Wheels: Insert the metal axle through the designated holes on the machine's frame. Secure the two wheels onto the axle using the provided nuts.
- Estende a maniglia: The handle is typically pushed in for compact storage. Pull the handle upwards to extend it to a comfortable operating height and tighten the wing nuts to secure it.
- Accessori Store: Utilize the integrated tool hooks on the machine's frame to store the various cutter heads and the instruction manual.

Figure 3: Initial setup of the drain cleaner, showing the main unit, wheels, and instruction manual laid out for assembly.
5. Operating Instructions
Follow these steps for safe and effective drain cleaning:
- Cunnette Potenza: Plug the machine into a properly grounded and GFCI-protected electrical outlet.
- Selezziunate Direzzione di Rotazione: Use the switch on the motor housing to select the desired rotation direction (Forward or Reverse). The '0' position is Off.
- Avanti (1): Rotates the drum to feed the cable into the pipe.
- Reverse (2): Rotates the drum to retract the cable from the pipe.
- ATTENZIONE: Do not put the rotation switch into REVERSE while removing the cable from the pipe. Do not put the rotation switch into REVERSE for more than a few seconds at a time. Reverse position is only to momentarily change direction to relieve pressure and free a jammed cable.
- Adjust Cable Feed Tension: The knob on the cable feed mechanism controls the tension on the cable.
- Allentate: Allows manual feeding and retraction of the cable. Useful for quickly advancing the cable to the blockage point.
- Stringhje: Engages the automatic feed mechanism, providing torque to push or pull the cable. This is used when actively clearing a clog.
- Engage Cable Feed: Use the lever on the cable feed mechanism to control the cable's movement.
- Push the lever in one direction to feed the cable forward.
- Push the lever in the opposite direction to retract the cable.
- The middle position is neutral, allowing the cable to spin without advancing or retracting.
- Activate Motor: Press the air-activated foot switch to start the motor and rotate the cable. Release the foot switch to stop the motor.
- Clear Clog: With the motor running and the cable feed engaged (tightened tension), guide the cable into the drain. Allow the rotating cutter to work through the blockage. If the cable jams, release the foot switch, briefly switch to reverse, then back to forward, and re-engage the foot switch.
- Retract Cable: Once the clog is cleared, switch the cable feed lever to the retraction position, engage the foot switch, and allow the machine to pull the cable back into the drum.
Video 1: Demonstration of the VEVOR Drain Cleaner Machine's operation, including the motor switch, cable feed lever, tension knob, and foot pedal. The video shows the cable extending and retracting, illustrating how to control the auger for effective drain cleaning.

Figura 4: Detailed view of the control panel, highlighting the forward/reverse switch and important safety warnings for operation.
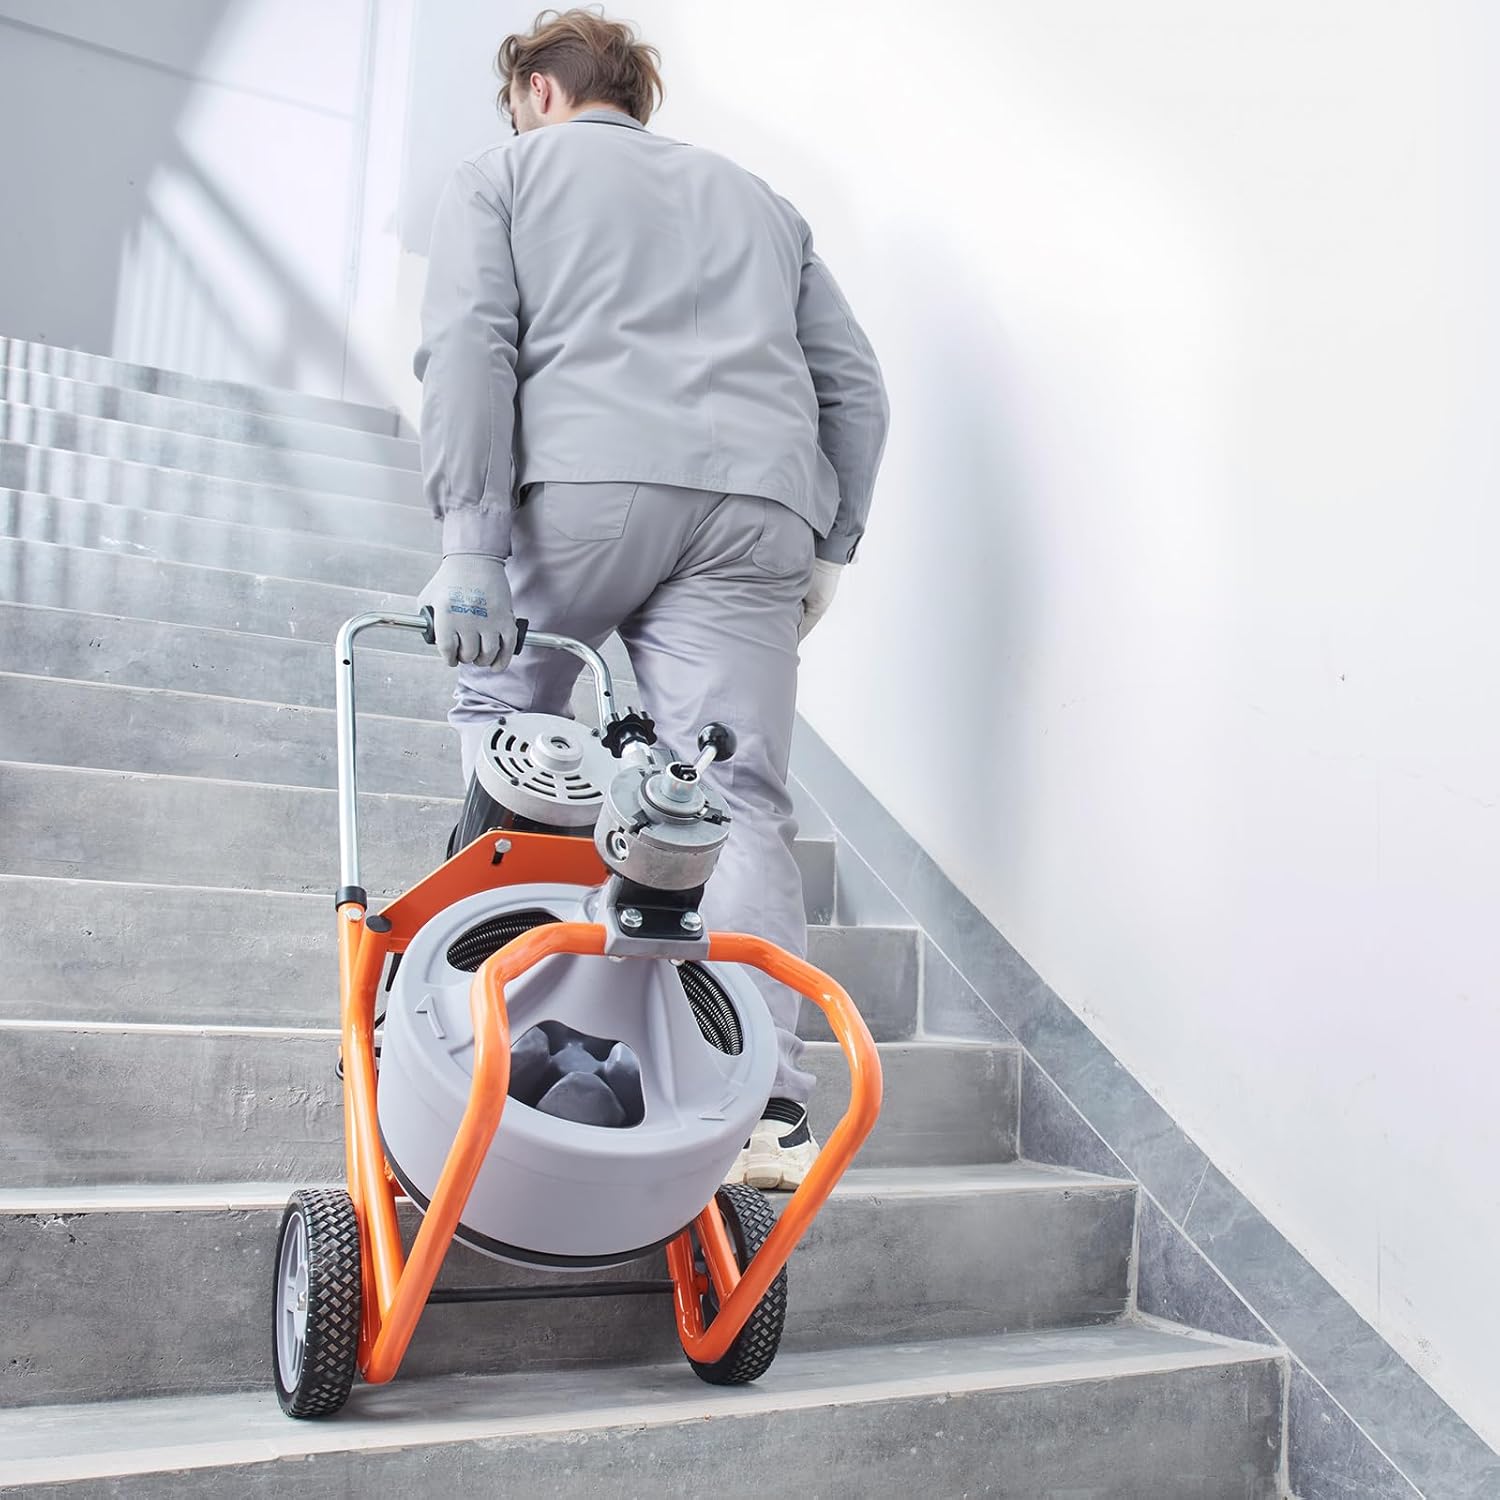
Figure 5: An operator demonstrating the use of the air-activated foot switch and the cable feed lever to control the drain cleaner.
6. Mantenimentu
Regular maintenance ensures the longevity and optimal performance of your drain cleaner.
- Clean Cable: After each use, clean the cable thoroughly to remove any debris, grease, or residue. This prevents corrosion and maintains flexibility.
- Inspect Cutters: Check cutter heads for wear or damage. Replace worn cutters to ensure effective clog removal.
- Lubricate Parts Moving: Periodically lubricate the cable feed mechanism and other moving parts as recommended in the full product manual (if available).
- Mantene bè: Store the machine in a dry, clean area. Ensure the cable is fully retracted into the drum and all accessories are securely stored.

Figure 6: The semi-enclosed plastic drum design, which is durable, rust-resistant, and allows for easy observation of the remaining cable length.
7. Risoluzione di prublemi
Riferitevi à sta sezione per i prublemi cumuni è e so suluzioni.
- A macchina ùn principia micca:
- Check power connection and GFCI outlet.
- Ensure the motor switch is in the '1' (Forward) or '2' (Reverse) position.
- Verify the foot switch is fully depressed.
- Cable Not Feeding/Retracting:
- Adjust the cable feed tension knob. Tighten for automatic feed, loosen for manual.
- Ensure the cable feed lever is in the correct position (forward or reverse).
- Check for cable kinks or obstructions within the drum or pipe.
- Cable Jams:
- Immediately release the foot switch.
- Briefly switch the motor to reverse (position '2') to relieve pressure, then back to forward (position '1').
- Try to gently pull or push the cable manually while the motor is off to free it.
8. Specificazioni
| Numeru di mudellu di l'articulu | RC-9001H-2.8*9.5*23M 75FT 3/8IN |
| Dimensioni di u produttu | 24.68 x 17.1 x 35.4 inch (627 x 434 x 900 mm) |
| Lunghezza di u cable | 75 ft |
| Diametru di u cable | 3/8 inch |
| Feeding Method | Alimentazione automatica |
| Culore | Orange + Grey |
| Size Wheel | 7.5 inch |
| Pesu di l'articulu | 59.5 liri |
| Cumpunenti inclusi | 8 x Cutters |

Figure 7: A visual representation of the product's dimensions and a summary of its key specifications.
9. Garanzia è Support
VEVOR is committed to providing quality tools and attentive customer support. For warranty information, technical support, or any inquiries, please refer to the official VEVOR websitu o cuntattate direttamente u so serviziu clienti.
Visitate u magazinu VEVOR: Negoziu ufficiale VEVOR


