1. Introduzione
This manual provides essential information for the safe and effective operation, maintenance, and troubleshooting of your HYCO PH65 Corded Electric Demolition Hammer. Please read this manual thoroughly before using the tool to ensure proper handling and to prevent injury or damage.
The HYCO PH65 is a heavy-duty demolition hammer designed for breaking concrete, masonry, and rubble. It features a powerful 2000W motor, a 25.07 mm chuck for quick bit changes, and a shock absorber for enhanced user comfort.
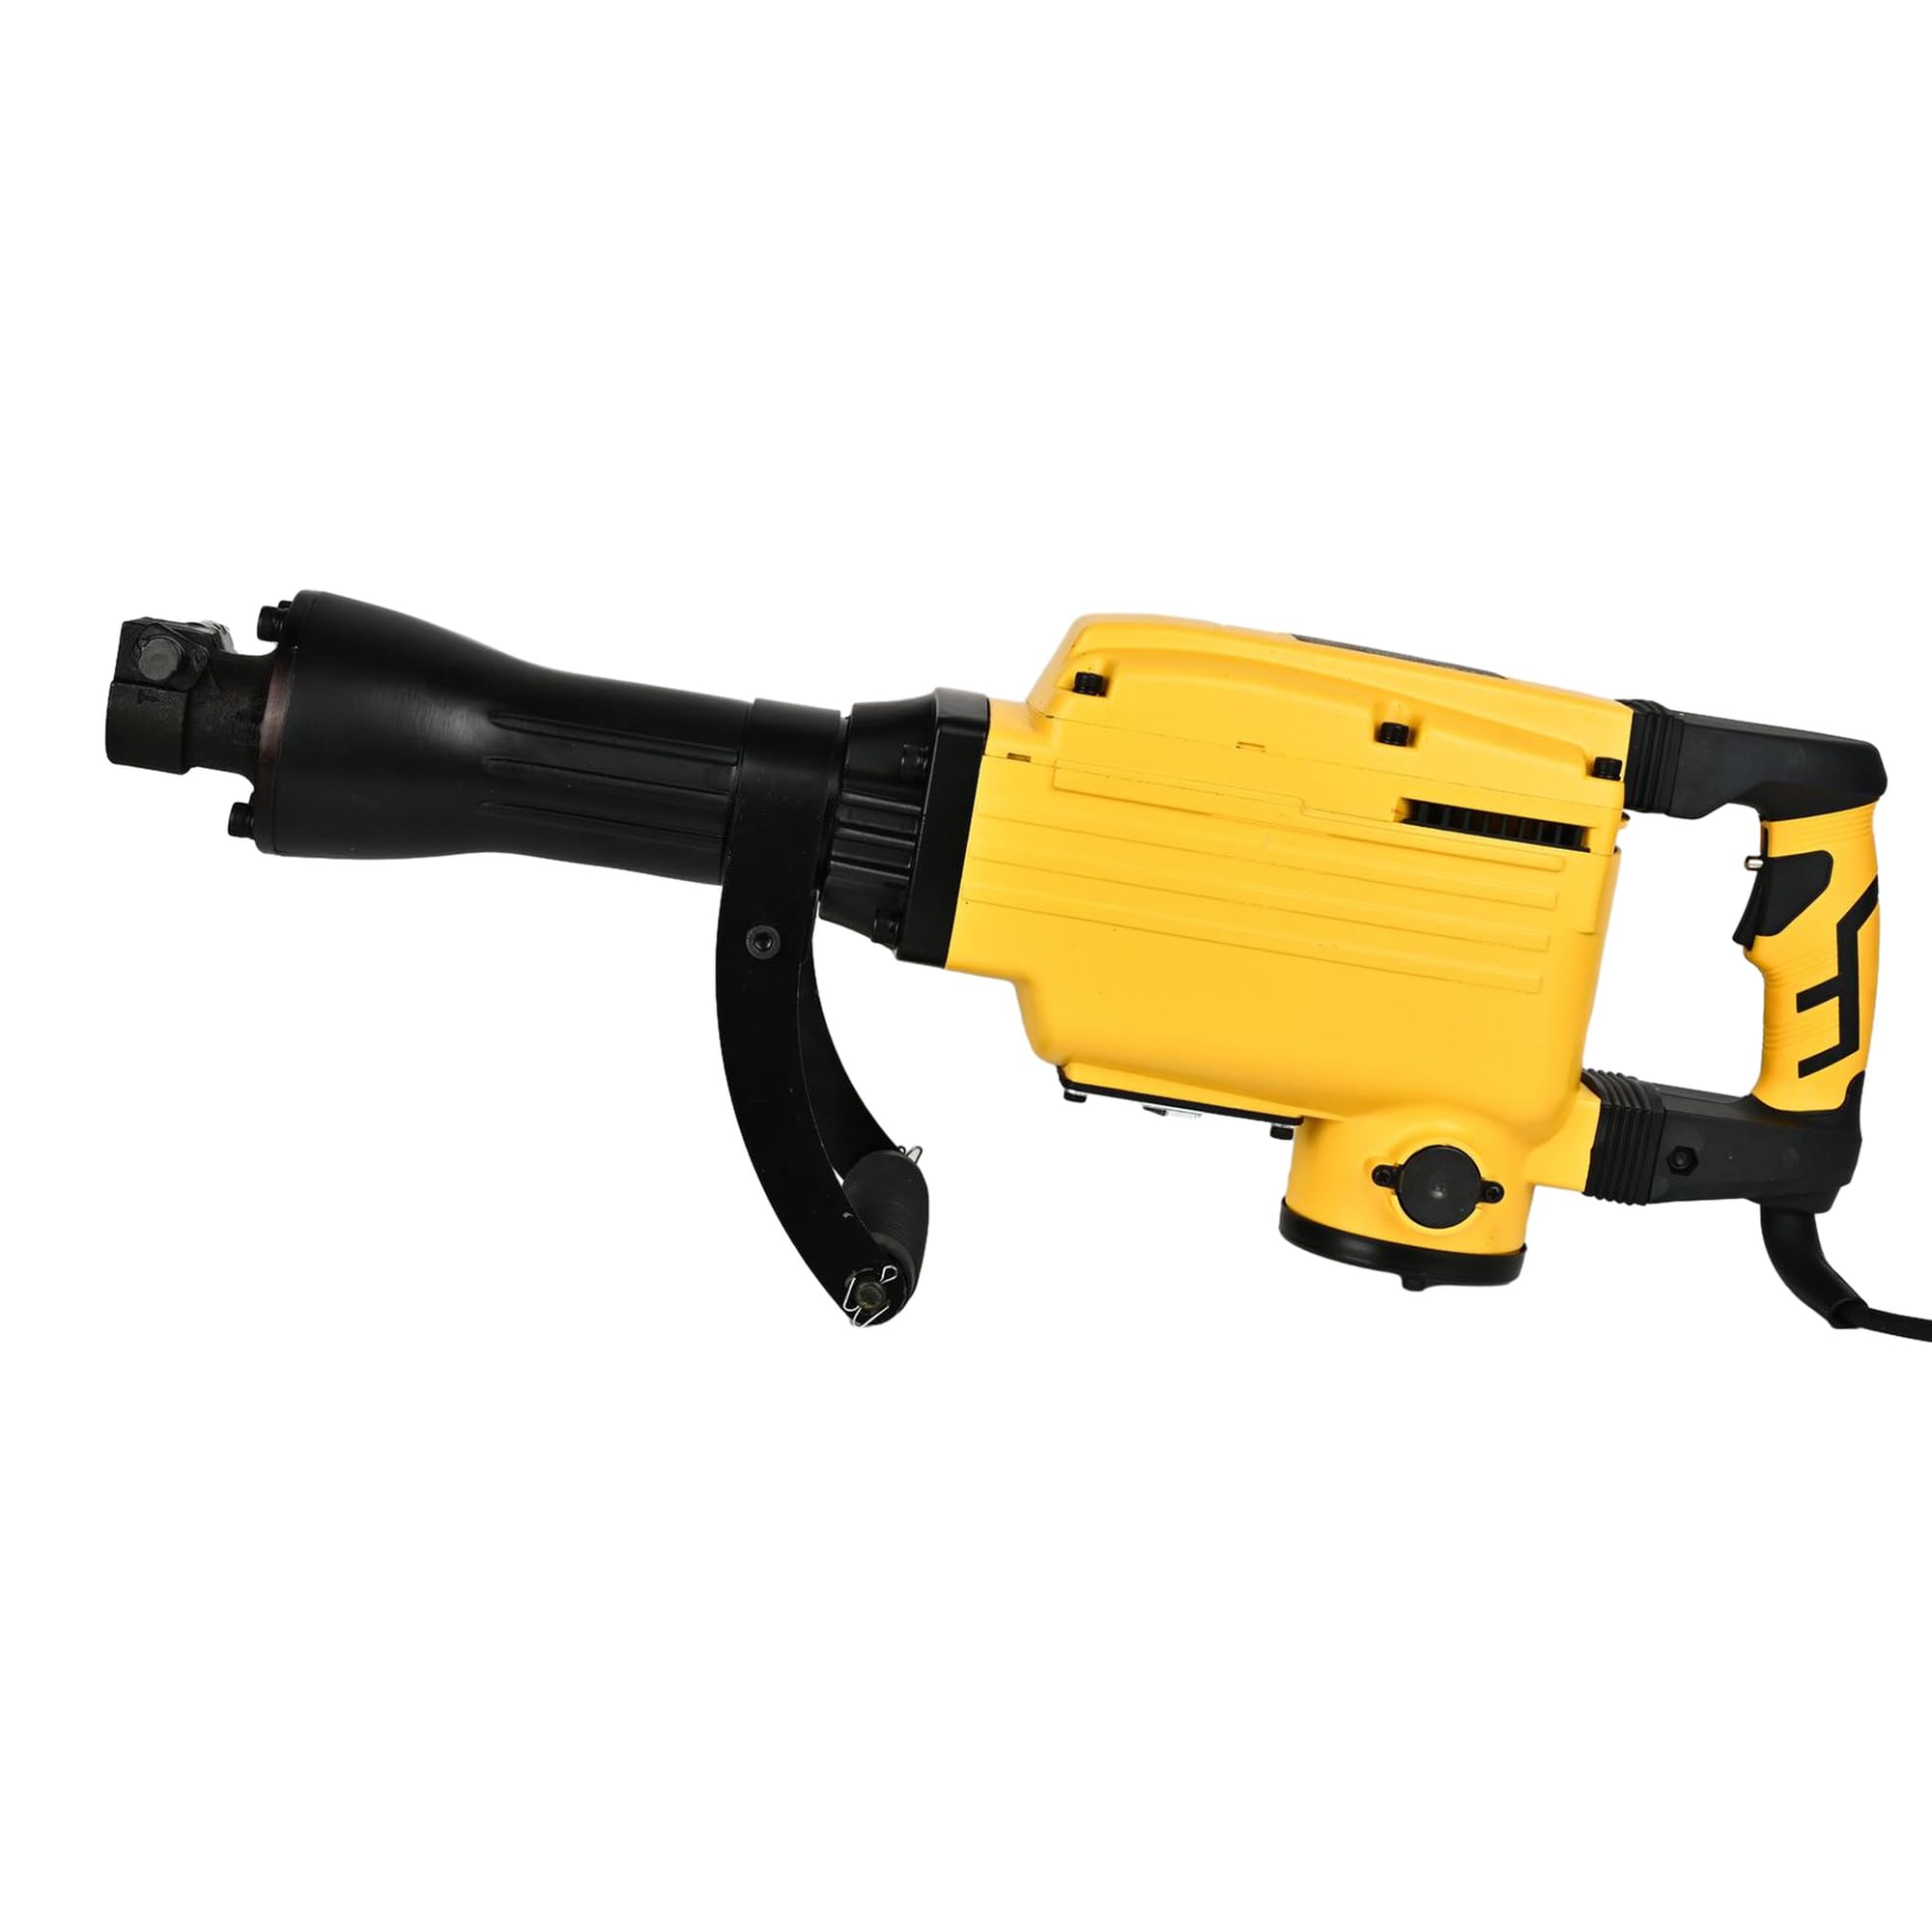
Figura 1: Generale view of the HYCO PH65 Demolition Hammer.
2. Istruzzioni di sicurità
Segui sempre e precauzioni di sicurezza basiche per riduce u risicu d'incendiu, scossa elettrica è ferite persunale quandu si utilizanu utensili elettrici.
- Sicurezza di l'area di travagliu: Mantene a zona di travagliu pulita è ben illuminata. E zone ingombre o scure invitanu l'accidenti. Ùn aduprate micca l'utensili elettrici in atmosfere esplosive, cum'è in presenza di liquidi, gas o polveri inflammabili.
- Sicurezza elettrica: E spine di l'utensili elettrici devenu currisponde à a presa. Ùn mudificate mai a spina in alcun modu. Evitate u cuntattu di u corpu cù superfici messe à terra o à terra cum'è tubi, radiatori, cucine è frigoriferi.
- Sicurezza persunale: Always wear eye protection. Use hearing protection when operating the tool. Wear a dust mask if working in dusty conditions. Dress properly; avoid loose clothing or jewelry.
- Uso è cura di l'arnesi: Ùn furzate micca l'utensile elettricu. Aduprate l'utensile elettricu currettu per a vostra applicazione. Scollegate a spina da a fonte di alimentazione prima di fà qualsiasi aghjustamentu, cambià accessori o almacenà l'utensili elettrichi.
- Safety Lock-on Button: The tool incorporates a safety lock-on button to prevent unintentional start-up. Ensure you understand its operation before use.
- vibrazione Dampening: The tool is designed with vibration dampening for operator comfort. However, prolonged use can still cause discomfort. Take regular breaks.
3. Produttu Finituview
Familiarize yourself with the components of your HYCO PH65 Demolition Hammer.

Figure 2: Main handle and trigger assembly.

Figura 3: Side view showing the auxiliary handle for better control.

Figure 4: Product label with model and electrical specifications.
4. Specificazioni
| Specificazione | Valore |
|---|---|
| Marca | Hyco |
| Mudellu | PH65 |
| Fonte d'energia | Corded Electric |
| Voltage | 220 Volts |
| Potenza massima | 2000 Watt |
| Dimensione massima di Chuck | 25.07 millimetri |
| Pesu di l'articulu | 16 chilògrammi |
| Dimensioni di u produttu | 78L x 42W x 22H centimetri |
| Tipu di perforazione | Utente di Hammer |
| Cumpunenti inclusi | Comes as a Combo Set |
5. Setup
5.1 Attaccà a maniglia ausiliaria
The auxiliary handle provides additional control and stability during operation. Securely attach it to the tool body in a comfortable position for your working posture.
5.2 Installing/Changing Chisels or Bits
- Assicuratevi chì u strumentu sia scollegatu da a fonte di alimentazione.
- Locate the chuck mechanism. The 25.07 mm chuck is designed for quick bit changes.
- Insert the chisel or bit firmly into the chuck until it locks into place. Pull on the bit to ensure it is securely seated.
- To remove, follow the chuck's release mechanism (refer to specific chuck design if different from standard push-and-twist).
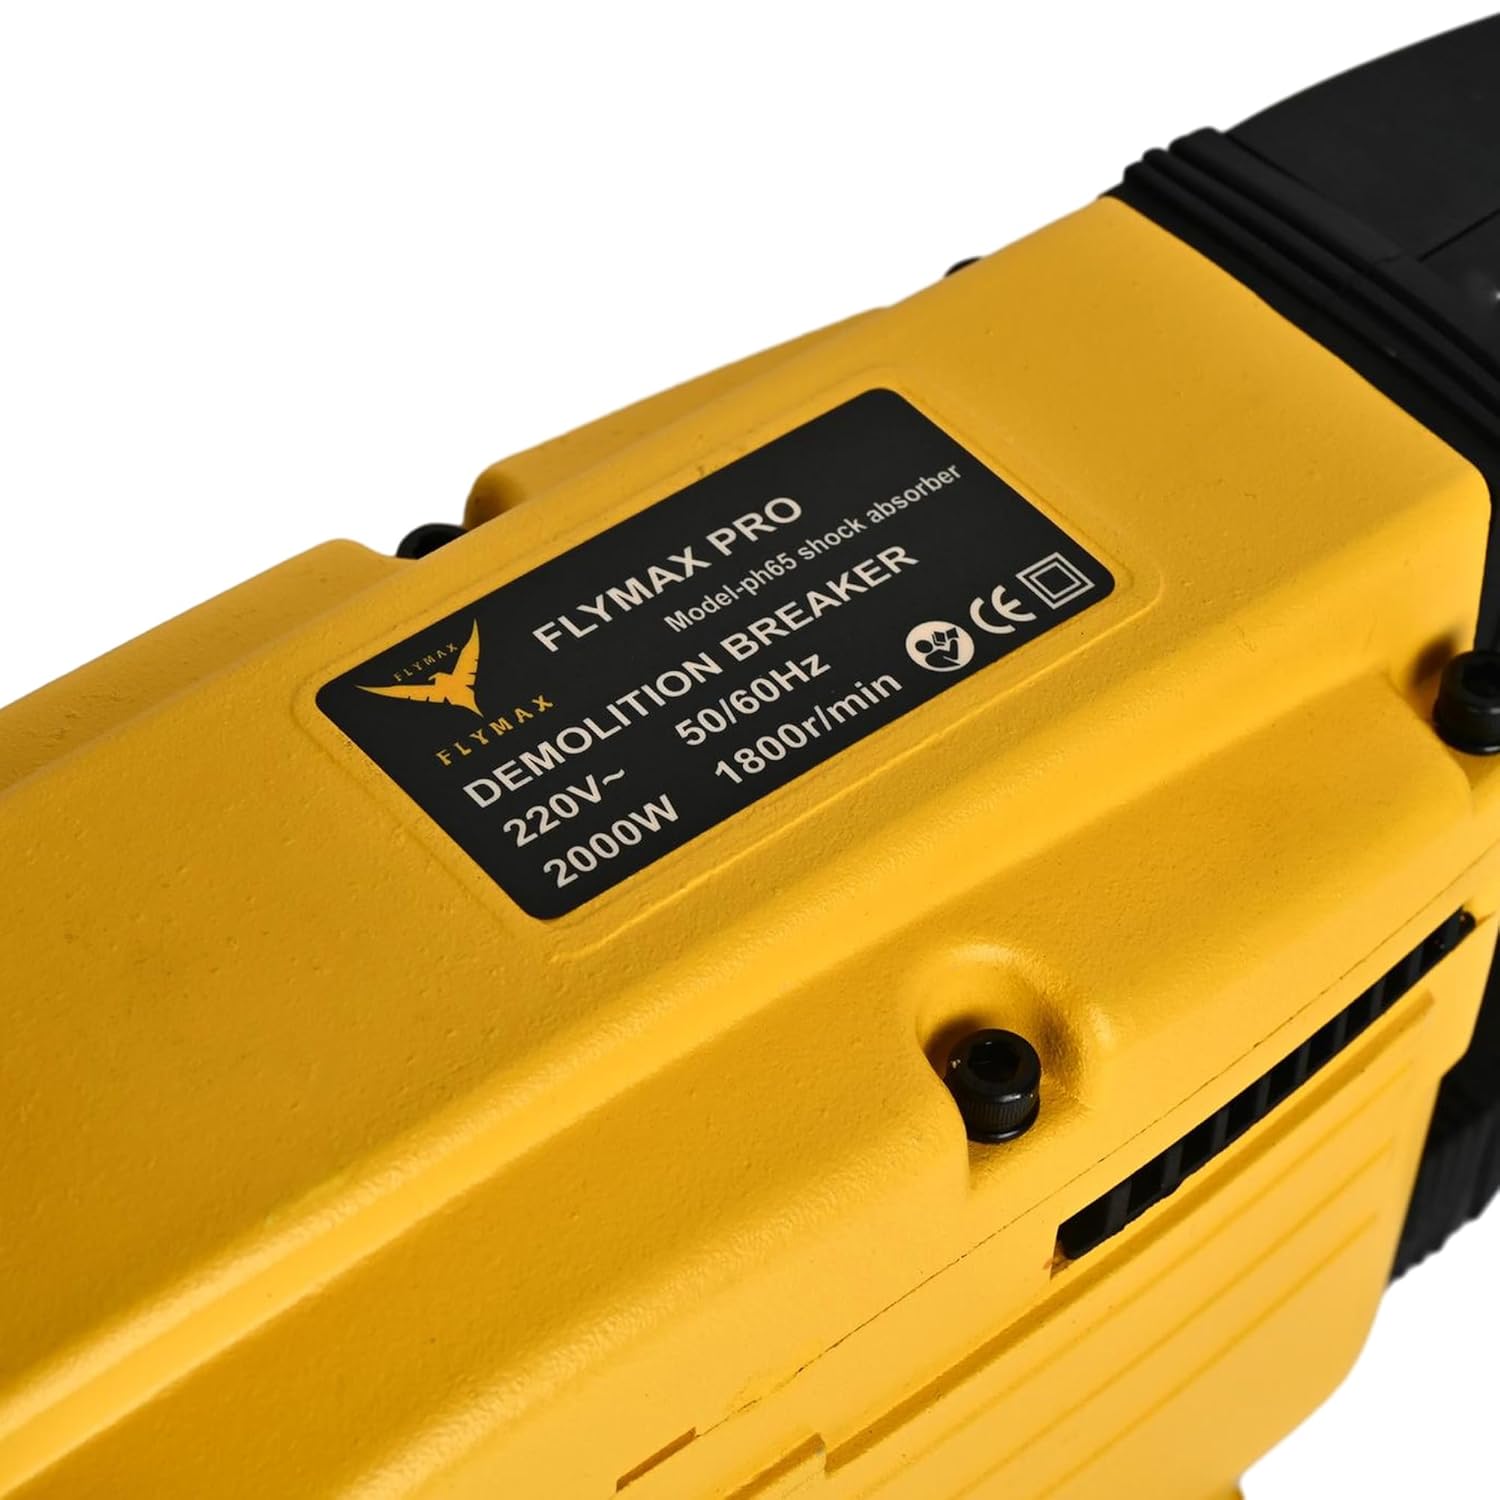
Figure 5: Chuck mechanism for bit insertion.
6. Operating Instructions
6.1 Cunnessione di putenza
Connect the power cord to a suitable 220V electrical outlet. Ensure the power source is stable and capable of handling the tool's 2000W power consumption.
6.2 Avvio di u strumentu
Press the trigger to start the demolition hammer. If equipped, release the safety lock-on button before pressing the trigger. The tool is designed for heavy-duty demolition, chiseling, and concrete breaking jobs.
6.3 Demolition Technique
- Hold the tool firmly with both hands, utilizing the main and auxiliary handles.
- Position the chisel or bit against the material to be broken.
- Apply steady, firm pressure. Allow the tool's impact energy to do the work. Do not apply excessive force, as this can reduce efficiency and increase wear.
- Work systematically, breaking material into manageable pieces.
6.4 Funziunamentu cuntinuu
For extended use, the tool's corded electric power ensures continuous operation without battery recharging. However, take regular breaks to prevent fatigue and ensure safe handling.
7. Mantenimentu
Una manutenzione regulare assicura a longevità è e prestazioni ottimali di u vostru martellu demolitore.
7.1 Pulizia
- After each use, clean the tool to remove dust, debris, and concrete residue.
- Use a dry cloth or soft brush. Do not use solvents or abrasive cleaners.
- Assicuratevi chì e aperture di ventilazione sò chjaru per prevene u surriscaldamentu.
7.2 Lubrication
Periodically lubricate the internal mechanisms as indicated by the lubrication port. Refer to the tool's specific lubrication requirements and recommended lubricants.

Figure 6: Lubrication port.
7.3 Ispezione
- Regularly inspect the power cord for damage. Replace immediately if frayed or cut.
- Verificate u mandrinu per l'usura è assicuratevi chì i punte sianu tenute saldamente.
- Inspect the housing for cracks or damage. The robust all-steel housing is designed for durability, but severe impacts can cause damage.
8. Risoluzione di prublemi
If you encounter issues with your HYCO PH65 Demolition Hammer, refer to the following common problems and solutions.
| Prublemu | Causa Possibile | Soluzione |
|---|---|---|
| U strumentu ùn principia micca | Nisuna alimentazione elettrica; Cavu dannighjatu; Interruttore difettuosu | Verificate a presa di corrente è l'interruttore automaticu; Verificate u cavu di alimentazione per eventuali danni; Cuntattate u centru di assistenza se l'interruttore hè difettuosu. |
| Forza d'impattu ridutta | Worn chisel/bit; Insufficient lubrication; Internal wear | Replace worn chisel/bit; Check and replenish lubrication; Contact service center for internal inspection. |
| Vibrazione eccessiva o rumore | Loose components; Internal damage; Worn parts | Tighten any loose screws; Discontinue use and contact service center for inspection. |
For problems not listed or if solutions do not resolve the issue, contact HYCO customer support.
9. Garanzia è Support
For warranty information, service, or technical support, please refer to the warranty card included with your product or visit the official HYCO websitu. Conservate a vostra ricevuta d'acquistu cum'è prova d'acquistu per e richieste di garanzia.


