Introduzione
This manual provides comprehensive instructions for the safe and effective use, setup, operation, and maintenance of your Streamlight TLR-8 HL-X sub USB 1000-Lumen Weapon Rail-Mounted Rechargeable Tactical Flashlight with Integrated Red Aiming Laser. Please read this manual thoroughly before using the device.
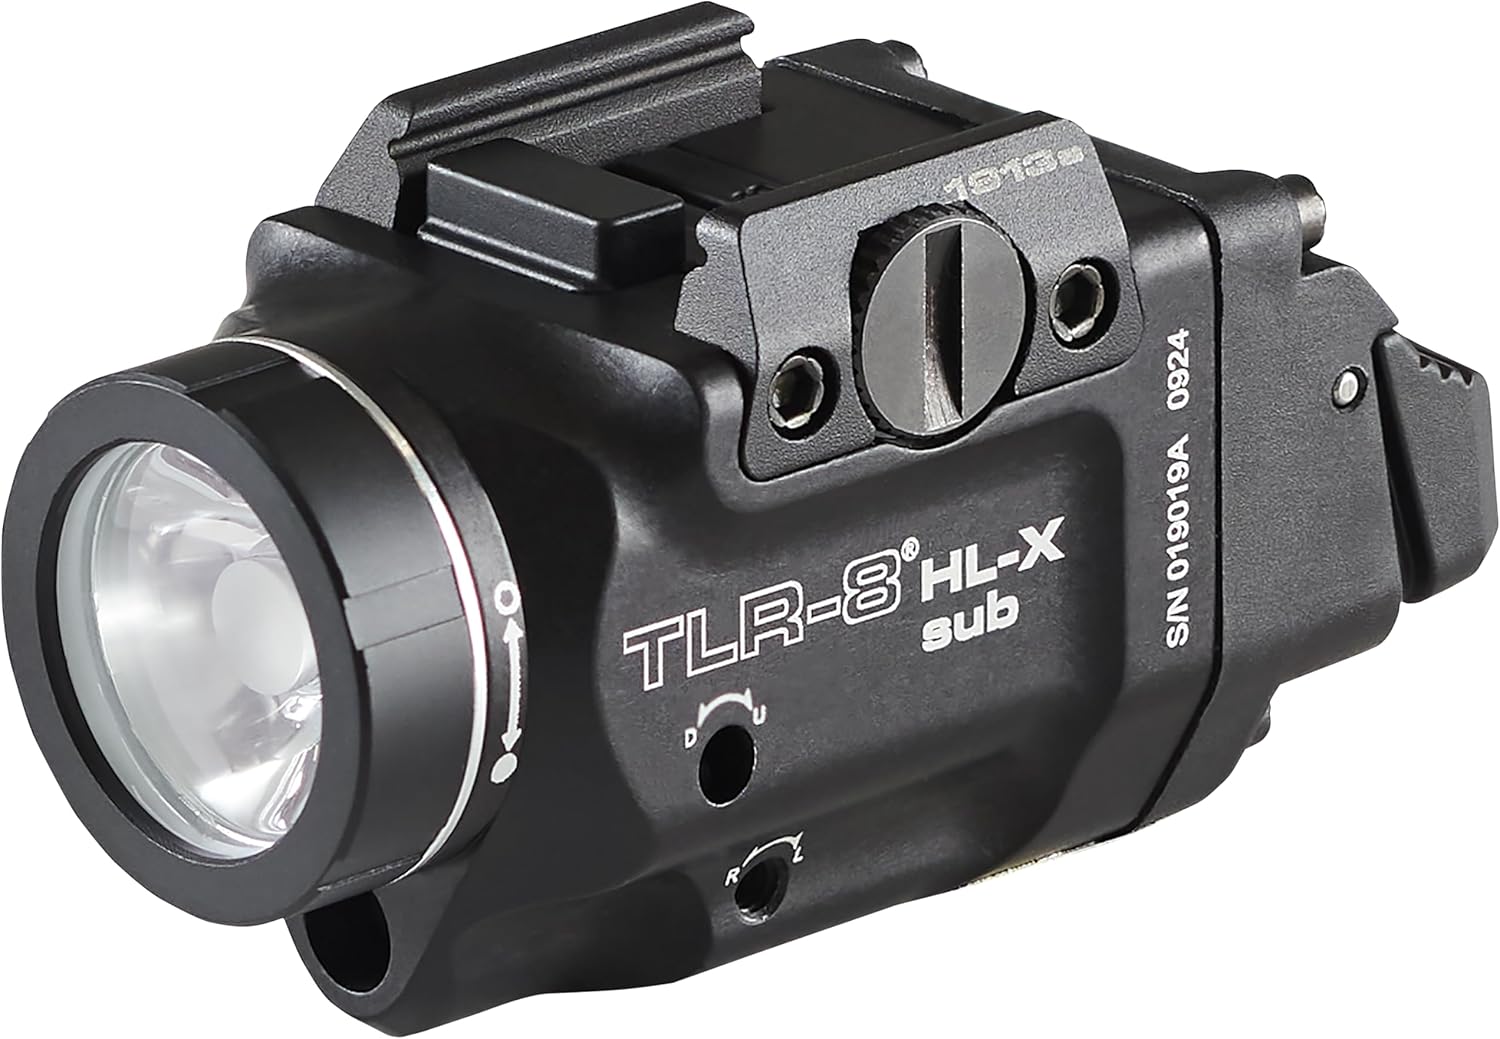
Figura 1: Streamlight TLR-8 HL-X sub tactical flashlight. This image shows the compact design of the flashlight and laser combination unit, highlighting the main light emitter and the integrated red laser.
Informazioni di sicurezza
ATTENZIONE: Always follow proper firearm safety procedures. Ensure the firearm is unloaded and safe before attaching, detaching, or performing any maintenance on the TLR-8 HL-X sub.
- Radiazione laser: This product contains a Class 3R laser. Avoid direct eye exposure to the laser beam. Do not point the laser at aircraft or vehicles.
- Sicurezza di a batteria: Use only the specified rechargeable battery. Do not attempt to open, crush, or incinerate the battery. Keep batteries away from children.
- Calore: The light head can become hot during prolonged use. Avoid direct contact with the hot surface.
- Muntamentu: Ensure the device is securely mounted to prevent accidental detachment during use.
Installazione è installazione
1. Cumpatibilità
The TLR-8 HL-X sub is designed exclusively for use with specific firearms featuring a 1913 rail. Compatible models include:
- Smith & Wesson M&P M2.0 subcompact
- Beretta Px4 Storm subcompact
- Springfield Armory XD-E, XD-S and Hellcat Pro
- Heckler & Koch HK45 compact
- Sig Sauer P365 XMACRO
2. Rail Mounting
The TLR-8 HL-X sub features a rail grip clamp system for quick and secure attachment/detachment without tools.
- Assicuratevi chì l'arma da focu sia scarica è sicura.
- Allenta u rail clamp screw on the TLR-8 HL-X sub.
- Align the rail clamp cù a rota accessoria di a vostra arma da focu.
- Push the unit onto the rail until it seats firmly.
- Stringhje u rail clamp screw securely by hand. Do not overtighten.
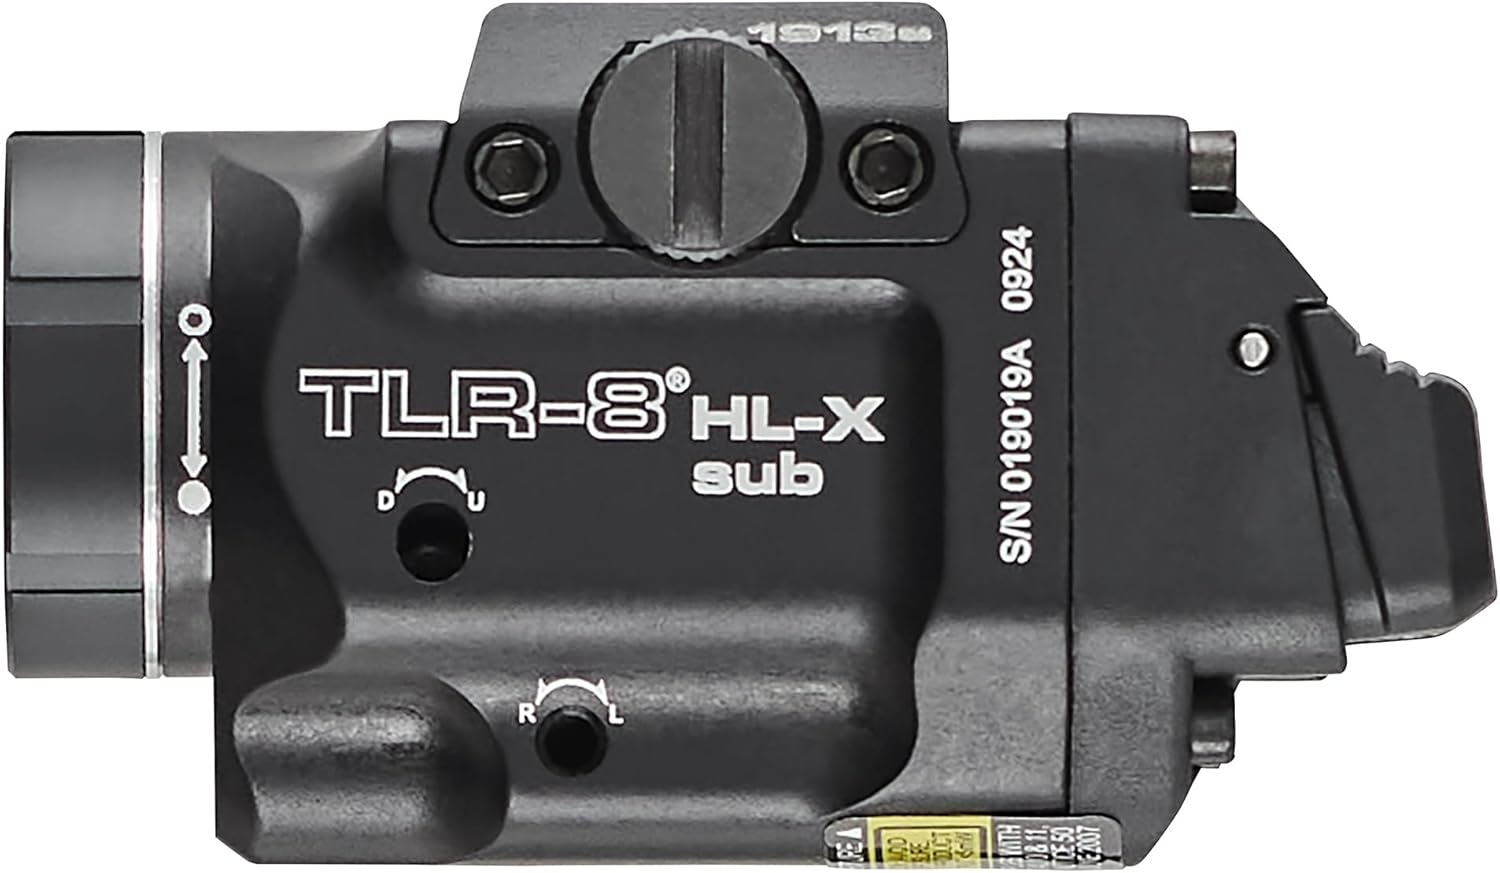
Figura 2: Latu view of the TLR-8 HL-X sub, showing the rail clamp mechanism. This image illustrates how the unit attaches to a firearm's accessory rail.
3. Installazione è carica di a batteria
The TLR-8 HL-X sub uses a rechargeable battery and can be charged via USB.
- To access the battery compartment, unscrew the face cap of the light.
- Insert the specified rechargeable battery with the positive (+) end facing towards the light head.
- Replace the face cap and tighten securely to ensure water resistance.
- To charge, locate the USB charging port (typically covered by a rubber seal) and connect a standard USB-C cable. The charging indicator will show status.
4. Interchangeable Paddle Switches
The unit comes with interchangeable ambidextrous rear paddle switches (high and low) to suit user preference.
- Using a multi-tool (not included), carefully remove the existing paddle switch by unscrewing the retaining screw.
- Align the desired high or low paddle switch with the slot.
- Secure it in place with the retaining screw. Ensure it is snug but do not overtighten.
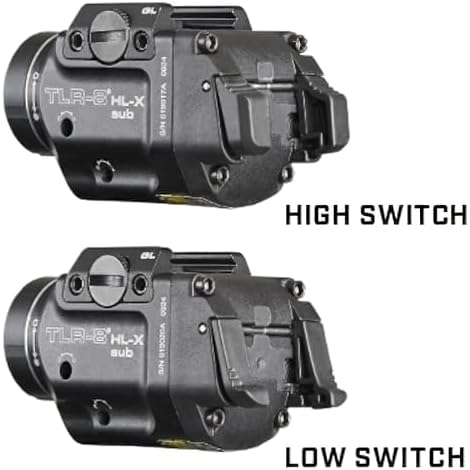
Figura 3: High and Low Switch options. This image demonstrates the two different paddle switch configurations available for user customization.
Istruzzioni di funziunamentu
1. Selezzione di Modu
The TLR-8 HL-X sub offers three primary operating modes:
- Solu luce LED: Activates the 1000-lumen flashlight.
- LED/Laser Combo: Activates both the flashlight and the red aiming laser simultaneously.
- Laser solu: Activates only the red aiming laser.
To cycle through modes, press and hold one of the paddle switches for approximately 1 second until the desired mode is selected. The unit will remember the last selected mode.
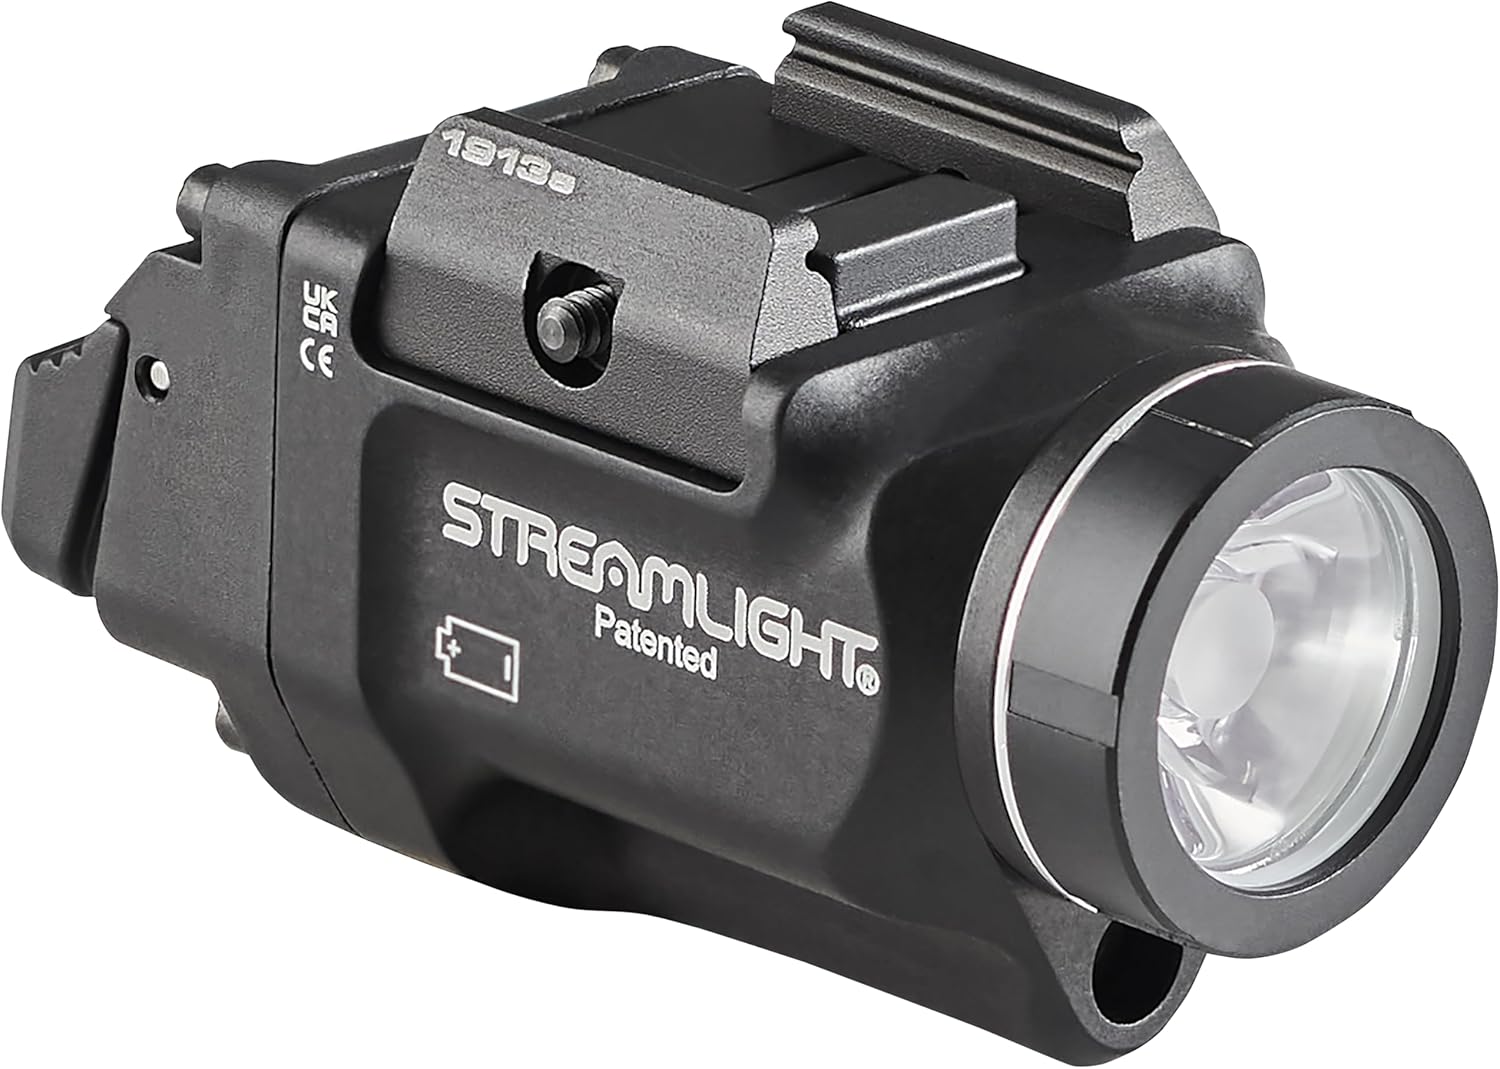
Figura 4: Fronte view of the TLR-8 HL-X sub, illustrating the light emitter and laser aperture. This view highlights the dual functionality of the device.
2. Activating the Light/Laser
- Attivazione Momentanea: Appughjà è tene premutu unu di l'interruttori à paletta. Rilasciate per spegne.
- Constant On: Toccate rapidamente unu di i dui interruttori à paletta. Toccate torna per spegne.
3. Strobe Mode
The TLR-8 HL-X sub features a user-enabled strobe mode.
- To activate strobe, quickly double-tap either paddle switch while the light is off or in constant on mode.
- To exit strobe mode, tap either paddle switch again.
4. Laser Adjustment
The integrated red aiming laser can be adjusted for windage and elevation.
- Locate the windage and elevation adjustment screws on the side of the unit.
- Using a small flathead screwdriver or the appropriate tool, turn the screws incrementally to adjust the laser point of aim.
- Perform live-fire zeroing at a safe range to ensure accuracy.
Mantenimentu
1. Pulizia
- Pulisci l'esternu di l'unità cù l'annunziuamp tela. Ùn aduprate micca detergenti abrasivi.
- Clean the lens with a soft, lint-free cloth. For stubborn dirt, a small amount of lens cleaning solution can be used.
- Ensure the USB charging port cover is securely closed to prevent dust and moisture ingress.
2. Cura di batterie
- Recharge the battery regularly, especially after prolonged storage, to maintain optimal performance.
- If storing the unit for an extended period, remove the battery.
Risoluzione di prublemi
| Prublemu | Causa Possibile | Soluzione |
|---|---|---|
| A luce/u laser ùn s'accende micca. | Low or dead battery. Incorrect battery orientation. Loose battery cap. | Recharge or replace battery. Ensure battery is inserted correctly. Tighten battery cap. |
| L'emissione di luce hè deb. | Low battery. Dirty lens. | Recharge battery. Clean the lens. |
| Unit feels loose on rail. | Ferrovia clamp a vite hè allenta. | Stringhje u rail clamp screw. Ensure proper fit for your firearm's rail. |
| Laser is not accurate. | Laser needs zeroing. | Adjust laser windage and elevation as per instructions. Perform live-fire zeroing. |
Specificazioni
| Feature | Detail |
|---|---|
| Mudellu | TLR-8 HL-X sub (69468) |
| Luce Output | 1000 lumens |
| Candela | 10,000 candela |
| Distanza di fasciu | 200 metri |
| Run Time (Light Only / Light/Laser) | minuti 30 |
| Run Time (Red Laser Only) | 29 ore |
| Tipu di laser | Class 3R, 640-660nm, <5mW output |
| Fonte d'energia | Batteria ricaricabile (USB) |
| Materiale | Alluminiu |
| Culore | Neru |
| Funzioni spiciali | Adjustable Light Modes, Durable, High Lumens, Mountable, Rechargeable |
Infurmazioni di Garanzia
Streamlight products are known for their durability and quality. For detailed warranty information, please refer to the official Streamlight websitu o cuntattate u so serviziu clienti. Conservate a vostra prova d'acquistu per e richieste di garanzia.
Assistenza Clienti
If you encounter any issues or have questions not covered in this manual, please visit the official Streamlight websitu per FAQ, risorse di supportu è informazioni di cuntattu.
Official Streamlight Websitu: www.streamlight.com


